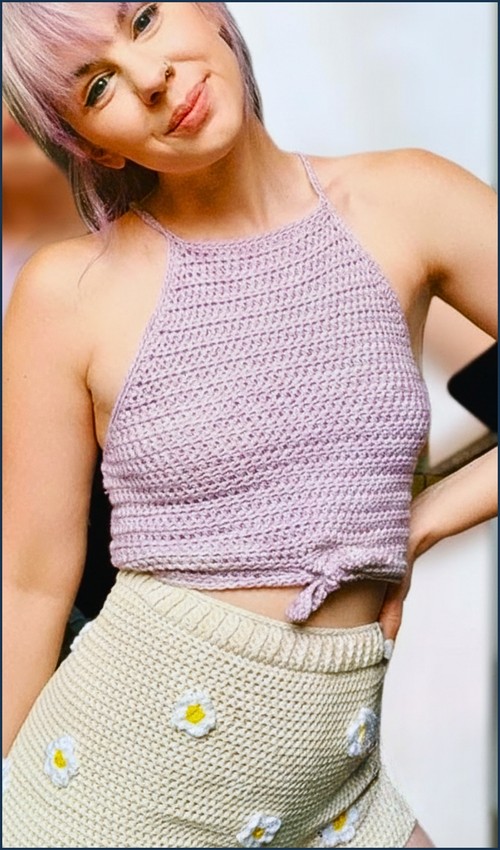
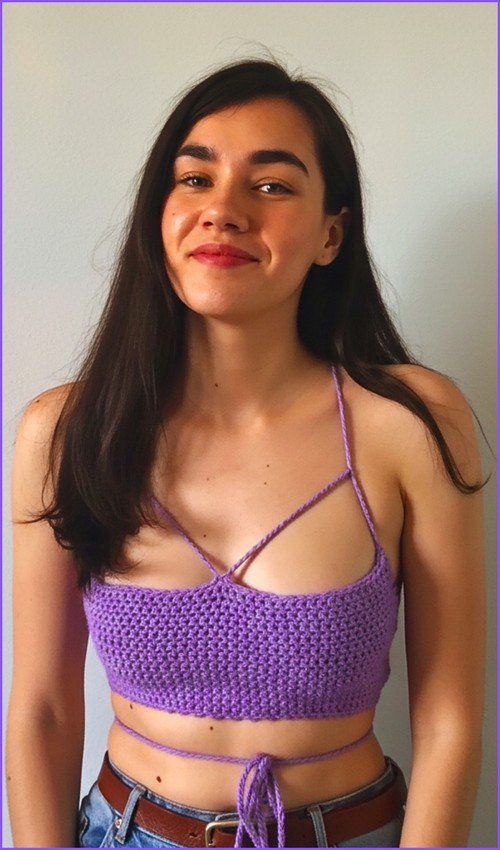
All-over fan lace gives this cream wrap top a sheer, airy quality that makes it just as useful thrown over a swimsuit as it is layered over a tee. If the wrap silhouette appeals but you want a denser fabric, the puff sleeves wrap top is the natural counterpoint.
Crochet Wrap Up Top

The construction works in panels that are seamed together, keeping each piece manageable before the final assembly. For another open-lace wrap in a different shape, the fan stitch triangle top uses the same openwork feel in a simpler silhouette.
Materials & Tools
Yarn: Approximately 300g of a Sport or DK-weight wool blend (30% wool, 70% acrylic).
Hook: 4.0 mm (US G/6) crochet hook.
Notions: Stitch markers, yarn needle, and scissors.

Stitch Notes Before You Begin
Sizing & Measurements
Sizing Note: This pattern is highly customizable. The stitch pattern requires a multiple of 10 plus 1 stitches.
Measurements: Choose a foundation chain length that is slightly wider than your actual front waist-to-waist measurement to ensure proper coverage when the top wraps over itself.
The Stitch Guide & Pro-Tips
Pro-Tip: The Foundation Single Crochet (Fsc)
For a garment that fits beautifully, replace a standard foundation chain with a Foundation Single Crochet (Fsc). This creates a stretchy, flexible bottom edge that won’t pull tightly around your waist.
Technique Explainer: The Triple Crochet (tr)
Yarn over your hook twice, insert the hook into the specified stitch, and pull up a loop (4 loops on hook). Yarn over and pull through two loops on your hook three times until only one loop remains.
Pattern Instructions

Front Bust Panels (Make 2)
Foundation Row: Create a foundation row using single crochets (or a chain and single crochet row) with a total stitch count that is a multiple of 10 plus 1. Adjust the total length so it is slightly wider than your waist-to-waist measurement.
Row 1 (V-Stitch Setup): Chain 4 (counts as a double crochet and chain-1 space). Work 1 double crochet into the very first stitch. Skip 4 stitches, then work [1 double crochet, chain 2, 1 double crochet] all into the next stitch. Repeat from * to * across the row until 5 stitches remain. End the row by chaining 2, skipping 4 stitches, and working [1 double crochet, chain 1, 1 double crochet] into the final stitch. Turn.
Row 2 (Shell Row): Chain 4 and skip the first stitch. In the next chain-2 V-space, work a shell of [4 triple crochets, chain 1, 4 triple crochets]. In the following chain-2 space, work a V-stitch of [1 double crochet, chain 2, 1 double crochet]. Repeat from * to * across the row, alternating your shells and V-stitches. Turn.
Shaping & Decreases: To create the wrap angle, begin decreasing on one side only at the start or end of the designated rows.
Row 3 and Beyond: Continue repeating the alternating rows while maintaining the decrease on your chosen edge. Continue this shaping until you have fewer than half of your original flower/shell groups remaining.
Straight Section: Once the decreases are complete, continue working straight without any further decreases until your panel measures exactly 11 flower rows tall. Fasten off.
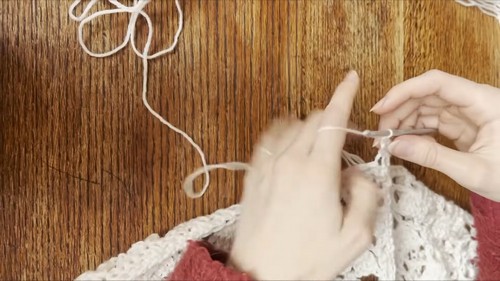
- New to crochet and not sure how to read a pattern yet? The video tutorial below will guide you through it step by step, you’ve got this!
Back Panel
Foundation Row: Create a foundation row using the exact same stitch count as your front panels (multiple of 10 plus 1).
Body Rows: Work the exact same pattern rows as the front panels, but do not make any decreases. Work straight until the back panel is exactly one row shorter than the front panels.
Final Two Rows (Neckline Shaping): To lower the neckline while keeping the shoulders tall, replace the center stitches of these rows with [half double crochet, chain 2, half double crochet] combinations. Ensure the outer shoulder areas remain tall to perfectly align with the front panels. Fasten off.
Sleeves (Make 2)
Foundation Row: Create a smaller foundation chain suitable for your desired sleeve width (keeping to a multiple of 10 plus 1 if you wish to maintain the stitch pattern layout).
Sleeve Body: Work the same alternating pattern rows without any decreases until the sleeve reaches your desired length.
Seaming: Fold the sleeve panel in half lengthwise and slip stitch along the side edges to close it into a tube.
Cuff: Chain 11. Work a slip stitch into the back loops only of the next 10 chains to create a ribbed texture. Attach the cuff to the bottom sleeve edge by slip stitching into the sleeve edge every two rows. Fasten off.

Assembly
Shoulders: Lay your two front panels over the back panel, aligning the outer edges. Slip stitch the shoulder seams together.
Sleeves: Align the sleeve seam directly with the armpit area of the body. Slip stitch the sleeves securely to the body panels.
Sides: Slip stitch down each side seam from the armpit down to the waist.
The Border & Ties

Short Tie & First Border
Step 1: Create a foundation chain of linked double crochets to form your short tie.
Step 2: Attach this tie directly to the bottom corner of one front panel.
Step 3: Work linked double crochet stitches evenly across the bottom edge of the panel, decreasing in every second stitch along the bottom to pull the waist in slightly. Stop when you reach the seam of the opposite front panel.
Step 4: Work 5 rows of linked double crochet back and forth without any further decreases to form the structured waistband. Fasten off.
Long Tie & Second Border
Step 1: Attach your yarn to the opposite front panel and repeat the border stitch process.
Step 2: Create a much longer foundation chain of linked double crochets to form the wrap-around tie.
Step 3 (The Pass-Through Hole): On the fifth row of this long-tie side, work slip stitches across a small section to create a gap, forming a clean pass-through hole. Fasten off and weave in all ends.
How to Wear Your New Wrap Top
Putting on your new top is simple! Take the short tie and feed it through the pass-through hole on the opposite side of the waistband. Take the long tie, wrap it all the way around your back, bring it back to the front, and tie both ends securely together at your front or side for a perfectly tailored, flattering fit.