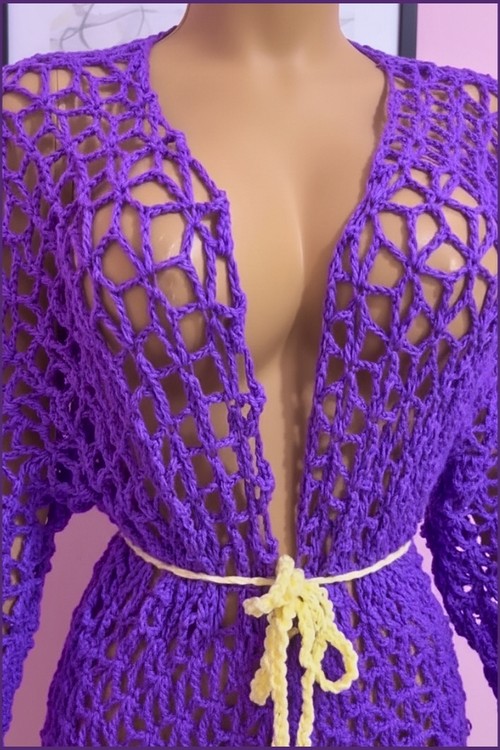
A white open-front maxi kimono over a black swimsuit is one of those beach looks that photographs well from every angle and this mesh construction keeps it lightweight enough to actually wear on a hot day rather than just style for a photo. The ruffled bell sleeves are the detail that lifts it out of basic coverup territory. For a shorter open-front coverup option, the lace coverup shows a similar layering approach in a more compact silhouette.
Crochet Beach Top Plus Size

The maxi length is what makes this genuinely useful as a beach-to-lunch piece it covers enough to feel intentional while the open front and mesh body keep the airflow going. Working the body in flat mesh panels before joining means you can complete each section in one sitting. If you want to explore the Solomon’s knot lace structure used on the sleeve edges, the Solomon’s knot tutorial covers the technique in detail — it’s one of the most distinctive lace stitches in the tutorials library.
Materials
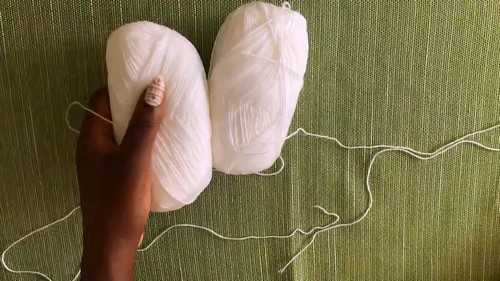
- 100 percent acrylic yarn doubled for thickness
- 4.5 mm crochet hook
Stitch Basics You’ll Use
Main Body Panel
- Create a slip knot and make a foundation chain to your desired width
- This foundation chain determines the overall width of the sweater from side to side.
- Because the sweater is worked flat first and shaped later, this width usually equals the full body width plus ease.
- If you want a loose, drapey fit, allow extra width here.
- Using doubled acrylic adds body and warmth, so keep the chain relaxed to avoid stiffness.
- Chain 6, skip 6 loops, work 1 double crochet in the 7th loop
- This creates the first large mesh opening.
- The chain 6 functions as both height and spacing, so consistent tension here is important.
- If your chain 6 is tighter than your double crochets, the mesh will distort.
- Chain 3, skip 3 loops, work 1 double crochet in the 4th loop and repeat to the end of the row
- From this point on, the pattern establishes a repeating mesh rhythm.
- Each chain space lines up with a double crochet below it in the following row, so accuracy now makes later rows much easier to read.
- Chain 6, turn, chain 3, work 1 double crochet into the top of the previous row double crochet
- This turning sequence maintains the vertical height of the mesh.
- The extra chain before turning ensures the mesh openings stay tall and even instead of collapsing.
- Don’t let crochet patterns intimidate you! If you’re a beginner, the video tutorial below makes it super easy to follow along!
Repeat the mesh row until the panel reaches from feet to shoulders

- This single panel forms the entire length of the garment.
- Try holding it against your body as you work.
- The bottom edge should sit where you want the sweater to start, and the top should reach your shoulder line.
- Blocking is not required at this stage, but smoothing the panel flat occasionally helps you check alignment.
Arm and Shoulder Separation
- Place stitch markers to divide the panel into two side sections and one center section
- This is the most important setup step.
- The center section becomes the neckline and upper chest area, while the side sections form the shoulders and upper sleeves.
- Measure carefully so both sides are equal. Uneven sections will cause twisted shoulders later.
- Work the mesh pattern across the first side section for 14 rows and fasten off
- These rows build the shoulder depth.
- Keeping the stitch pattern consistent ensures the shoulder seam sits flat instead of puckering.
- Attach yarn to the opposite side section and repeat 14 rows
- Matching row counts on both sides is essential.
- Count rows rather than relying on height alone.
- Attach yarn to the center section and work 14 rows
- The center panel connects the two shoulders.
- Working it separately keeps the neckline open and prevents stretching where the head passes through.

Joining the Shoulders and Arm Holes
- Join the top of the center panel to each side panel at the shoulders using slip stitches or sewing
- Choose the joining method you are most comfortable with.
- Slip stitching creates a flatter seam, while sewing can add strength.
- Keep joins flexible so the sweater moves comfortably when worn.
- Leave the center portion open on both sides to form the armholes
- Do not over-close this area.
- The openness here determines sleeve comfort and range of motion.
Sleeves
- Attach yarn at the armhole seam
- Starting at the seam hides the join visually and keeps the sleeve balanced.
- Chain 6 and work mesh rounds evenly around the armhole
- Work into each available mesh space and double crochet post. Even spacing prevents rippling.
- Add one extra mesh increase at the bottom center of the sleeve in the first round
- This small increase gives the sleeve natural drape and prevents tightness at the underarm.
- Continue working mesh rounds without increases until the sleeve reaches desired length
- Check sleeve length while wearing if possible. Mesh stretches slightly with wear, so stop a little shorter than your final goal.
Border and Edging
- Work 3 double crochets into each mesh space and 1 double crochet into each double crochet post along the front opening and neckline
- This fills in the open mesh and stabilizes the edges. Take your time here to keep stitch placement consistent.
- Finish with rows of front post and back post double crochet to create a ribbed edge

The ribbing adds structure and prevents curling. Keep your tension slightly firm so the edge holds its shape.
Fit and Sizing Guidance
- Because this sweater is made from one long panel, width and length are controlled early.
- Adjust the foundation chain for width and the number of mesh rows for length.
- Sleeves are fully customizable and can be cropped or extended without affecting the body fit.
Stitch and Shaping Clarity
- The mesh works because every chain space aligns with a double crochet below it.
- If you ever feel lost, look for the vertical columns of double crochets.
- Those are your anchors.
Beginner Notes
- This pattern assumes you are comfortable with chains and double crochet.
- If your mesh looks uneven, practice maintaining equal chain tension before continuing.
- Counting rows is more reliable than measuring height alone.
Troubleshooting
- Mesh leaning or slanting: Your turning chains may be too tight or too loose.
- Uneven shoulders: Recheck stitch marker placement before working the sections.
- Tight sleeves: Add one extra mesh increase in the first sleeve round.
Finishing Notes
Weave in ends along the ribbed edge where they are least visible. Light steam blocking can improve drape, but avoid direct heat on acrylic. Let the sweater rest flat before wearing so the mesh settles naturally.