
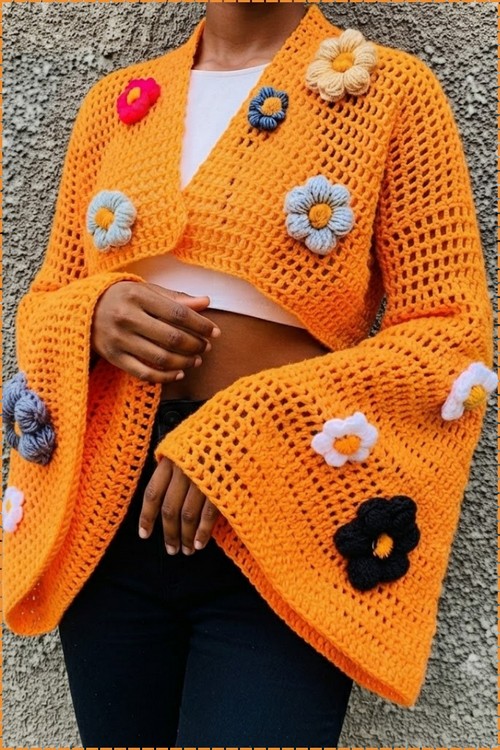
Measure across your shoulders, add 2 inches, and that width sets both mesh rectangles for a cropped cardigan sized entirely to you. Daisies made from doubled chunky yarn on an 8 mm hook go on last, and you can sew or tie them anywhere on the body or sleeves.
The flowers do most of the talking here, but the base fabric is a straightforward mesh grid that works up quickly on a large hook. Because the body is so open, the puff flower appliqués attach without bulk and sit flat against the fabric rather than fighting the drape. If you want the same relaxed silhouette without embellishments, this open weave fan stitch top uses a similar open construction for a cleaner everyday look.
Crochet Bell Sleeve Cropped Sweater
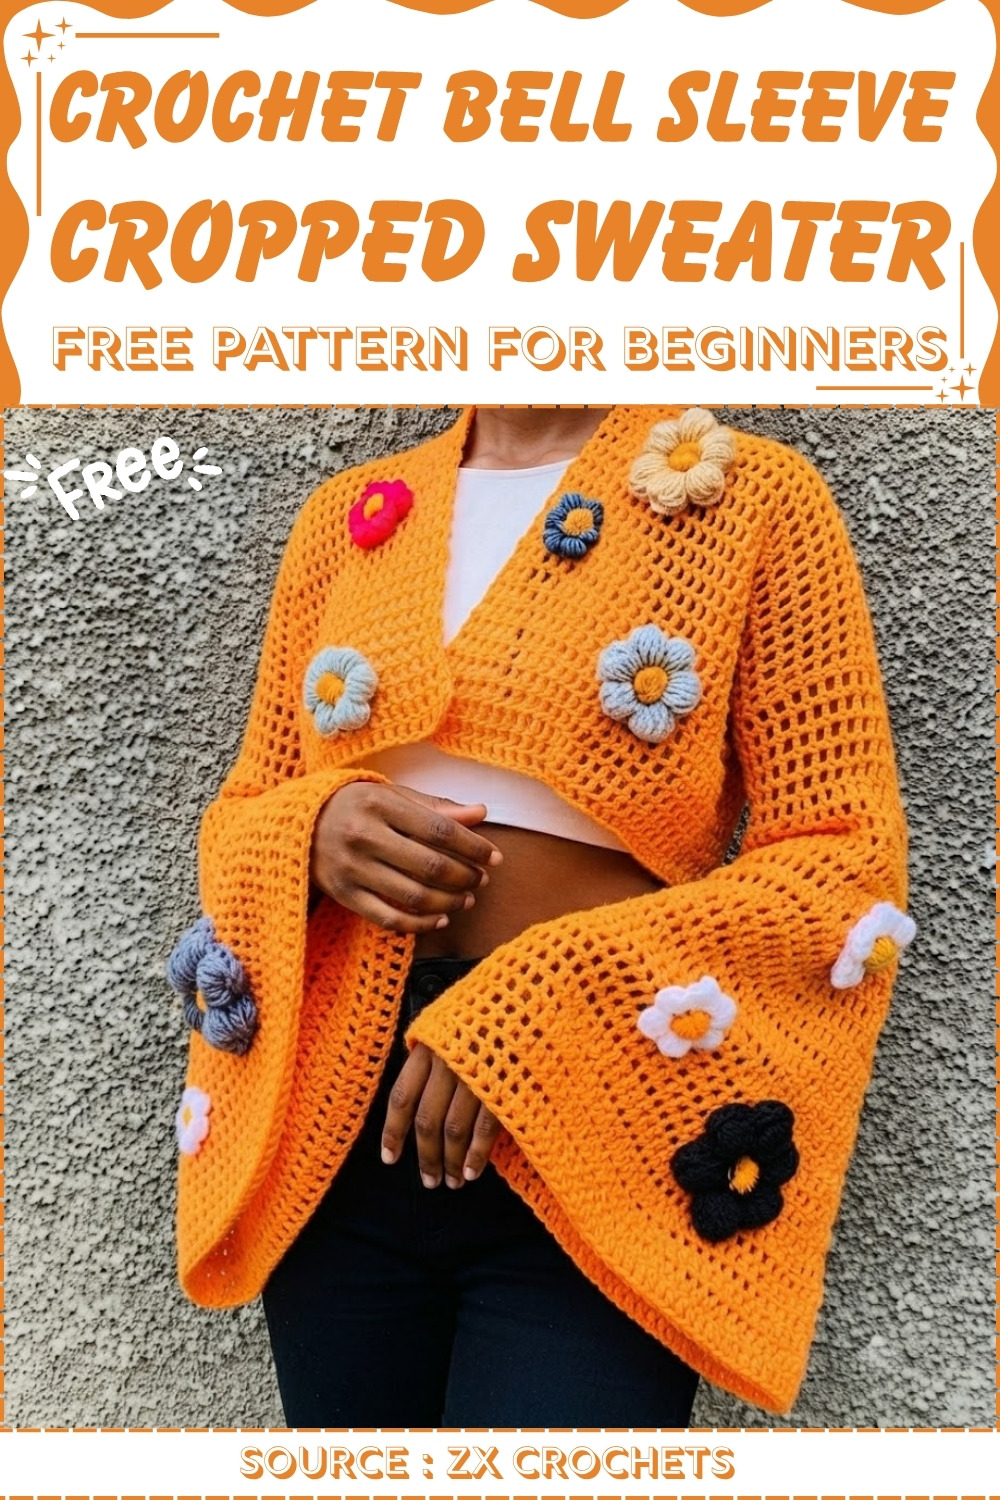
The bell sleeve flare comes from working increases at regular intervals down the sleeve length rather than at a single point, which keeps the flare gradual and prevents the cuff from pulling outward too sharply. The flowers are made separately and sewn on after blocking, so you can place them freely and adjust the arrangement before committing.
Quick Facts
Difficulty: Intermediate Construction: Two flat mesh rectangles joined at the back and sides; sleeves worked in the round from the armhole Sizing: Fully adjustable — you measure your own shoulders and work to your own length Main stitch: Mesh pattern (dc + ch-1 repeat) Time estimate: 3–5 sessions depending on yarn weight and sleeve length Hook: 3 mm for the body and sleeves; 8 mm for the chunky daisy motifs Yarn: Any yarn — the creator held two strands of thinner yarn together; chunky yarn used separately for the daisies
Customization Ideas
Before you cast on, here are a few ways to make this one your own.
- Length and silhouette: The body panels are plain rectangles, so you control everything. Work fewer rows for a cropped finish or more for a longer cardigan. The mesh drapes easily in both directions.
- The daisies are optional. Skip them entirely for a cleaner, more minimal look, or cluster them densely for something maximalist and playful. Sew them only on the sleeves, only on the body, or scatter them across both.
- Color: The mesh works beautifully in a single solid or tonal yarn. Alternatively, use one color for the body and a contrasting color for the sleeves to create a color-block effect without any extra complexity.
- Yarn weight: Two strands of fingering or lace held together gives a delicate, drapey mesh. A single strand of DK or light worsted will make a sturdier, slightly warmer version. Either works — just keep your hook proportionate to your yarn.
- Sleeve length: The pattern works to 35 rounds for a long bell sleeve. Shorten or lengthen to taste before you begin the cuff increase rows.
Materials & Tools
- Yarn of your choice (thin yarn held double, or a single strand of DK/light worsted)
- Chunky yarn for the daisy motifs (held double for extra volume)
- 3 mm crochet hook (body and sleeves)
- 8 mm crochet hook (daisy motifs)
- Tapestry needle
- Stitch markers
Abbreviations used in this pattern: ch = chain · dc = double crochet · sc = single crochet · sl st = slip stitch · sp = space · st(s) = stitch(es) · rep = repeat
Basic Stitch to Know
The Pattern
Step 1: Body Panels (Make Two Identical Rectangles)
Measuring your width:
- Measure from one shoulder to the other and add 2 inches to that total.
- Divide the result by 2 — this is your width per panel.
- (Example: 22-inch shoulder span + 2 = 24 inches ÷ 2 = 12 inches per panel.)
Foundation chain:
- Chain in multiples of 2 + 1.
- For a 12-inch panel, chain 59.
Row 1:
- Skip the first 2 ch from your hook.
- Work 1 dc into the 3rd ch.
- [Ch 1, skip 1 ch, 1 dc in the next ch]; rep across to the end.
- Finish with a dc in the last st.
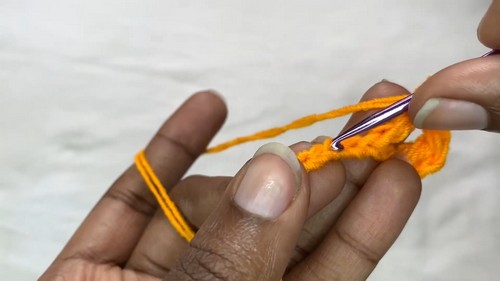
Row 2 (and all following rows):
- Ch 2 and turn.
- Place a dc into the very first st (immediately before the ch-1 sp).
- [Ch 1, skip the ch-1 sp, 1 dc on top of the next dc]; rep across.
- Finish with a dc in the final st.
Length:
- Continue repeating Row 2 until the panel reaches your desired length. (The creator worked 56 rows to approximately 28 inches.)
- Make a second identical rectangle.
If you’re a beginner and crochet patterns feel confusing, start with the video tutorial below, it’s the easiest way to learn as you go!
Step 2: Joining the Body
Back seam:
- Lay both panels flat and fold each in half.
- Join the entire back seam together using a sc join or a tapestry needle.
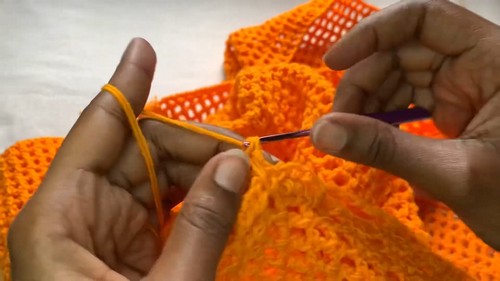
Side seams:
- Before sewing, measure around your upper arm to determine how much to leave open for the armhole.
- Stitch both sides from the underarm down to the bottom hem, leaving the armhole openings unsewn.
- Make sure the wrong side is on the inside and the right side faces out.
Step 3: Bell Sleeves (Worked in Rounds from the Armhole — Make Two)
Round 1:
- Attach yarn to the armhole opening. Ch 2 and work a dc into the same st.
- [Ch 1, skip the ch-2 sp or gap, work 1 dc into the next small sp or st] all the way around.
- Sl st into the top of the first dc to close the round.
Rounds 2–5 (No increases):
- Ch 2, turn.
- Work the standard mesh pattern — [ch 1, skip 1, 1 dc] in each dc — all the way around without any increases.
- Sl st to join at the end of each round.
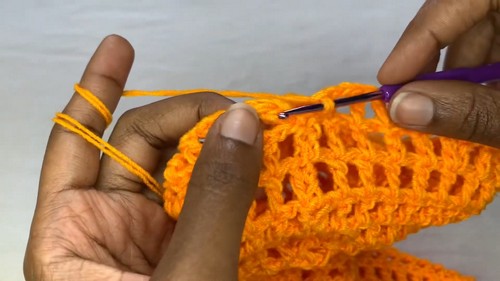
Round 6 (First increase):
- Work your mesh pattern to the 6th dc.
- At the 6th dc, make a V-stitch increase: ch 1, work an extra dc into that same 6th st.
- Continue the round in standard mesh to the end.
- Sl st to join.
Round 7:
- Work a standard round with no increases.
Round 8 (Second increase):
- Ch 2, turn.
- Work in mesh pattern, placing a V-stitch increase into every 8th dc.
- Sl st to join.
Round 9:
- Work a standard round with no increases.
Continuing increase pattern:
- Follow this sequence: increase at every 10th st on round 10, no increase on round 11; increase at every 12th st on round 12, no increase on round 13.
- Continue this incremental pattern (14th, 16th, 18th, 20th, and so on) until the sleeve reaches 35 rounds total.
Repeat the full sleeve process for the second armhole.
Step 4: Daisy Motifs
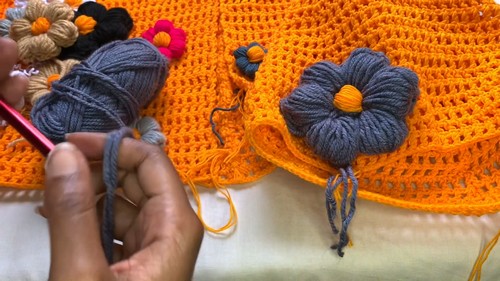
- Using chunky yarn and the 8 mm hook, crochet your daisy motifs separately. (Two strands of chunky yarn held together gives the flowers extra body and dimension.)
- Once complete, sew or tie the daisies onto the cardigan — on the body, the sleeves, or both — wherever you like the look best.
Step 5: Finishing
- Weave in all yarn ends with the tapestry needle.
Tips
- Count your foundation chain carefully before Row 1. The mesh pattern relies on multiples of 2 + 1, so an off-count chain will throw the pattern out of alignment from the very first row. It’s worth counting twice before you begin.
- Turn at the start of every sleeve round. The sleeves are worked in rounds, but you turn your work at the beginning of each one. This keeps the mesh columns consistent with the body panels rather than spiraling.
- Don’t rush the sleeve increases. The bell flare is built gradually — one increase row, one plain round, repeat — with the stitch interval growing each time. Skipping ahead or doubling up will create a sudden flare rather than a smooth bell curve. Trust the slow build.
FAQ
1. Can I use a single strand of yarn instead of holding two together? Yes. The creator doubled her yarn because it was thin, but a single strand of DK or light worsted at 3 mm will give a comparable fabric weight. Swatch a small section first to check that the mesh stays open and doesn’t collapse.
2. How do I know how many stitches to leave for the armhole? Measure the circumference of your upper arm and leave enough of the side seam unstitched to accommodate it comfortably. Mark the armhole boundary with a stitch marker before you begin seaming so you don’t accidentally close it too far.
3. Do I have to add the daisy motifs? Not at all. The mesh cardigan is a complete, wearable piece without them. The daisies are purely decorative — add as many or as few as you like, or leave them out entirely for a cleaner look.
4. My mesh panels look slightly different sizes — what should I do? Block both panels before joining. Even a light spritz-and-pin block will even out any tension differences and bring the panels to the same dimensions, making the back seam much easier to join neatly.


One Comment