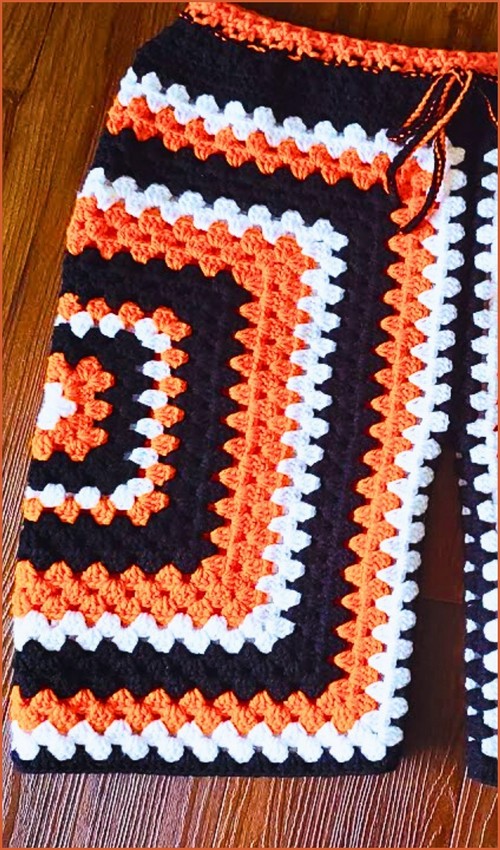
High-waisted crochet shorts with built-in structure are a different project from a simple drawstring pair and the filet panels at the hips are what make these stand out from a plain sc make. The lace-up front and beaded tassel ties are finishing details that go a long way toward making the finished shorts look polished rather than basic. If you’ve already made the granny square shorts, these are a good step up in construction detail.
Crochet High Waist Shorts
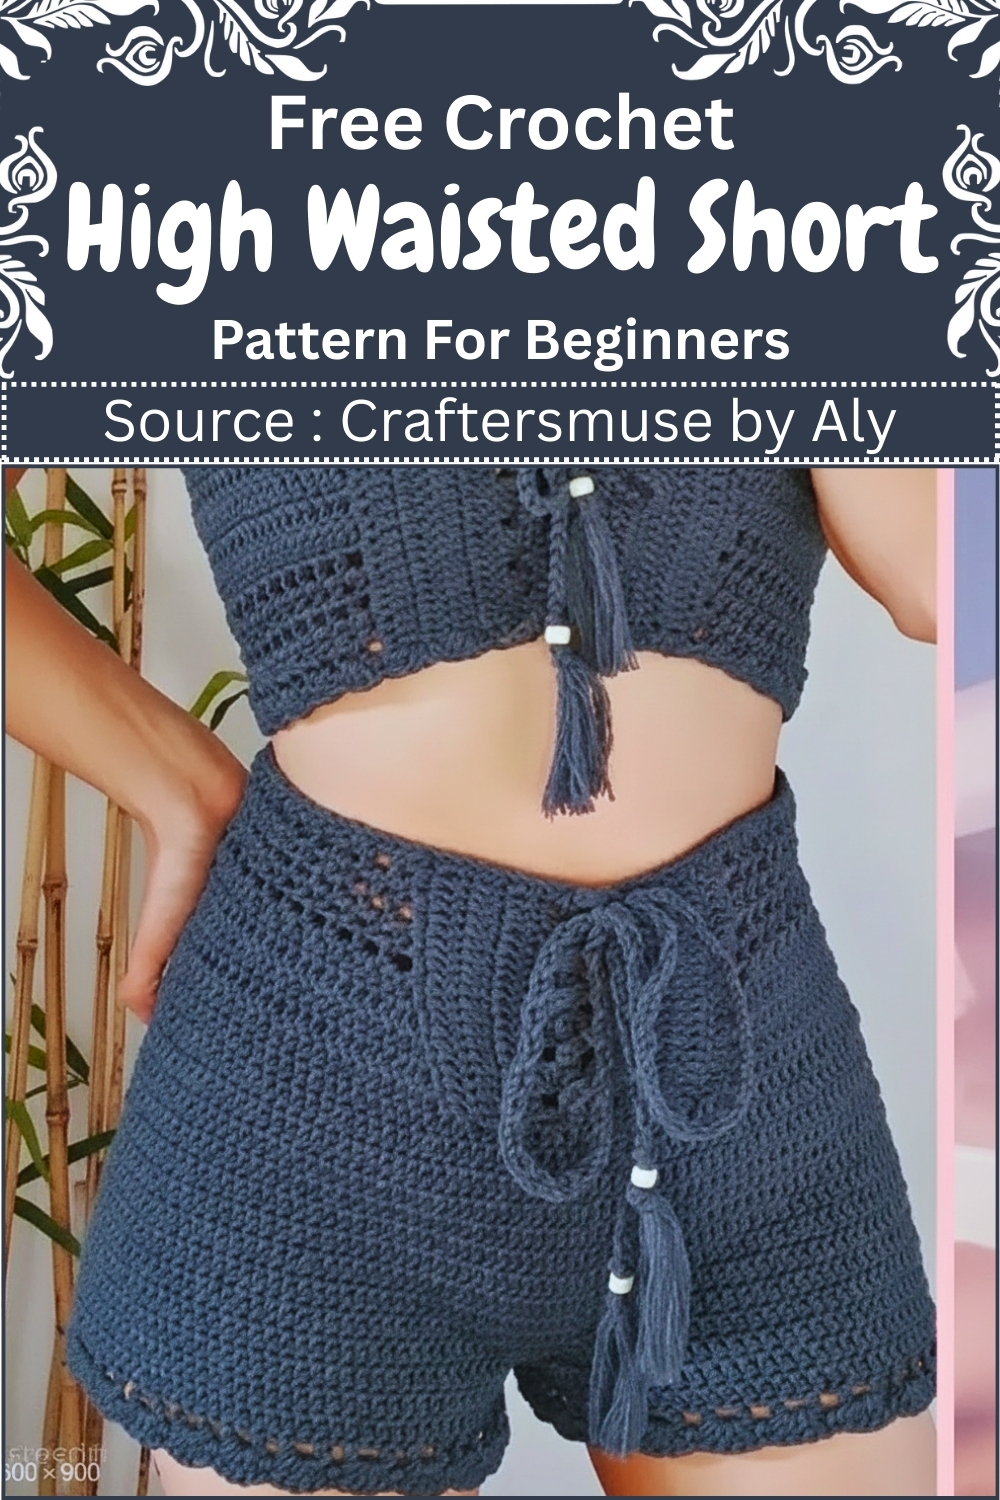
Navy or slate blue keeps the filet panels readable against the solid body — lighter colorways would show the openwork even more clearly. For another high-detail crochet bottom, the crochet shorts for ladies is worth bookmarking once you’ve finished this one.
Materials
- 100 percent cotton yarn in DK or medium weight for structure
- 3.5 mm crochet hook
- 4.0 mm crochet hook
- Measuring tape
- Scissors
- Yarn needle
- Stitch markers
Crochet Stitch Used in This Pattern
Understanding the Construction
Before you begin, it helps to picture how these shorts come together.
You are not working them from top to bottom in one piece right away. Instead:
- First, you create a ribbed waistband as a flat strip
- Then you join it into a circle
- After that, you build the body downward in rounds
- Finally, the work is split into two legs and finished separately
This method gives you control over fit at every stage, especially around the waist and hips where adjustments matter most.
Waistband
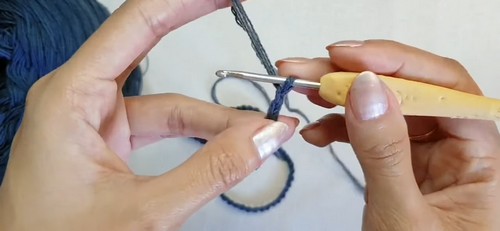
- Make a foundation chain that fits comfortably around your high waist and keep the chain count even
- Work rows of back loop only half double crochet or single crochet to form a stretchy ribbed band
- Continue until the band wraps fully around your waist without stretching
- Join the short ends together using slip stitches to form a circle
Why this matters
- Working in the back loop only creates vertical ribbing that mimics knit elasticity. This is what allows the waistband to stretch and recover instead of becoming stiff.
- Take your time here. If the band is not right, everything that follows will feel off. It should sit snugly without needing to stretch to close.
Body of the Shorts
- Attach yarn evenly along the lower edge of the waistband
- Work a full round of single crochet to create a clean base
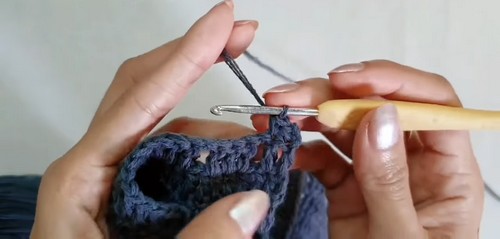
- Continue working rounds using a combination of double crochet and chain spaces to build the body
- Add stitches gradually at the sides as needed to allow room for the hips
- Still getting the hang of reading crochet patterns? That’s completely okay, the video tutorial below breaks everything down in a simple, beginner-friendly way!
Stitch and shaping clarity
That first round of single crochet is important. It stabilizes the waistband and gives you evenly spaced stitches to build on.
As you continue:
- Double crochet creates height and drape
- Chain spaces add flexibility and airflow
- Increasing at the sides shapes the shorts around the hips instead of making them straight like a tube
If your fabric starts to pull or feel tight across the hips, that is your signal to add increases.
Crotch Split
- Place stitch markers to divide the total stitch count into two equal sections for the legs
- Leave a small number of stitches at the center front and back for the crotch area
- Create a short bridge by chaining or stitching between the front and back center sections
What is happening here
- This is the step that turns a tube into actual shorts.
- The small gap you leave and then bridge creates space for movement and comfort. Without this, the shorts would pull uncomfortably when worn.
- Keep your stitch markers visible and double check your counts before splitting. Even a small mismatch can make one leg wider than the other.
Leg Panels
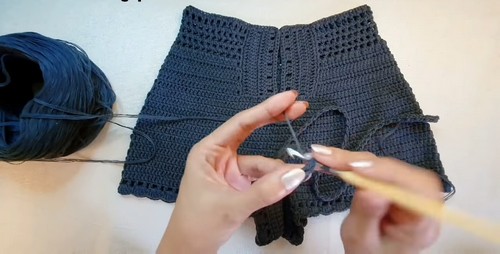
- Attach yarn to one leg opening
- Work in rounds using the established stitch pattern
- Continue until the leg reaches your desired length
- Fasten off and repeat the same steps for the second leg
Keeping both legs even
- Count your rounds or measure the length of the first leg before starting the second. This avoids uneven hems.
- If you want a more fitted look, reduce a few stitches at the start of the leg. For a relaxed fit, continue without decreasing.

Finishing Touches
- Add a neat edging or a few rounds of single crochet at the bottom of each leg
- Crochet a long chain and weave it through the waistband as an optional drawstring
Weave in all loose ends securely
Why finishing matters
- A simple edging helps the shorts hold their shape and prevents the edges from curling.
- The drawstring is especially useful if your waistband loosens slightly with wear. It adds both function and a finished look.
Fit and Sizing Guidance
- Always measure your waistband directly on your body, not from standard sizes
- Cotton yarn has less stretch than acrylic, so accuracy matters more
- Try the shorts on after a few body rounds to check hip fit early
- Adjust increases based on your body, not the pattern pace
Beginner Notes
- Back loop only stitches may feel unfamiliar at first, but they become rhythmic quickly
- Use stitch markers generously, especially when dividing for the legs
- Do not rush the waistband stage
- Keep your tension consistent between the waistband and body
Troubleshooting
- Waistband feels too tight: Start over with a longer foundation chain. Do not rely on stretching.
- Shorts flare too much at the hips: You may be adding too many increases. Space them out more gradually.
- Fabric feels stiff: Try switching to the larger hook for the body section if you have not already.
- Leg openings feel uneven: Recount stitches at the split point. The division must be equal.
Final Thoughts
These shorts are all about balance between structure and comfort. The ribbed waistband holds everything in place, while the airy body keeps them wearable in warmer weather. Once you understand how the shaping works, you can easily adjust the length, fit, and stitch pattern to suit your style.