Two colors, one repeating stitch, and a result that looks far more complex than the process this striped tank top is one of those satisfying makes where the pattern does the visual work for you. The wavy, interlocked texture gives it a retro-modern edge that’s hard to pull off in a single afternoon, but this one actually lets you. If you’ve worked the lacy crochet tank top or the oversized tank top, this is a great next make for building your two-color confidence.
Airy Crochet Tank Top Pattern
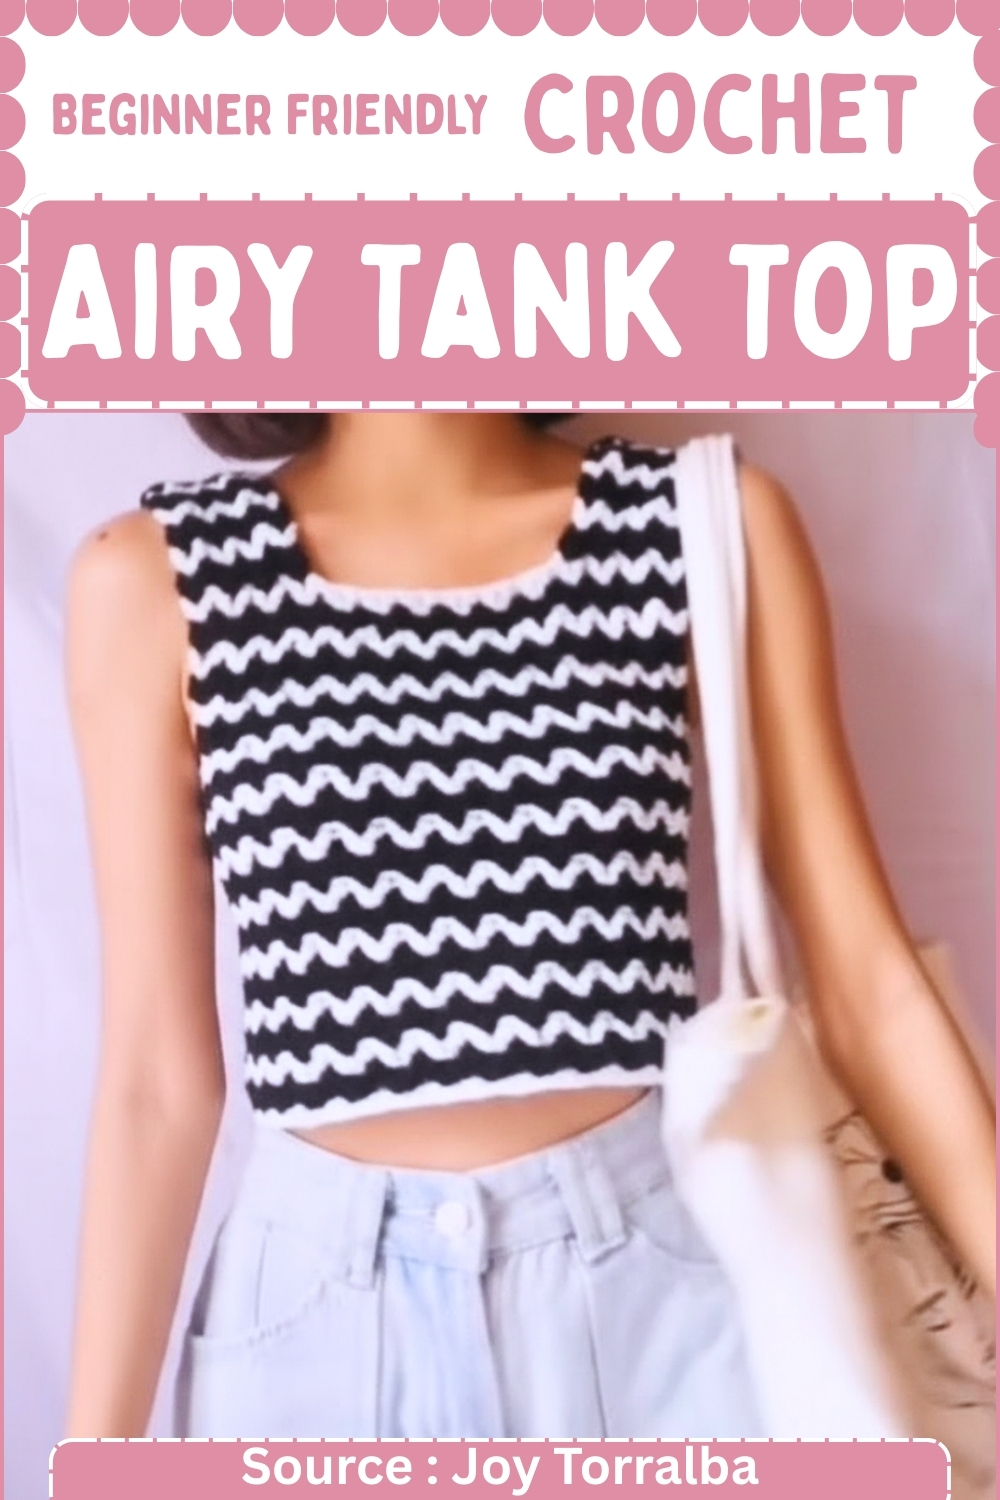
The black and white colorway in the tutorial is the sharpest version, but the blue and cream variation shown mid-tutorial is equally wearable same stitch, completely different mood. For another take on the cropped tank silhouette, the boxy tank top is worth keeping in your queue.
Materials and Preparation
Before starting, it is essential to take accurate measurements. Use a soft measuring tape to find the widest part of your bust and decide how long you want the top to sit on your hips.
Yarn: Two contrasting or complementary colors of your choice.
Hook: A size recommended for your specific yarn weight.
Notions: Measuring tape, stitch markers, and a tapestry needle for finishing.
Stitch and Shaping Clarity
This design relies on the interplay between two distinct stitch groupings:
Cluster V-Stitch: Typically involves working two or more double crochets together, separated by a chain, into the same space. This creates a thick, textured “pop” in your fabric.
Standard V-Stitch: Usually worked as a double crochet, chain 1, and another double crochet in the same space. This provides the “windows” that give the tank its breathability.
When switching colors every round, try to carry your yarn up the inside of the work to minimize the number of ends you need to weave in later.
The Body Worked in the Round
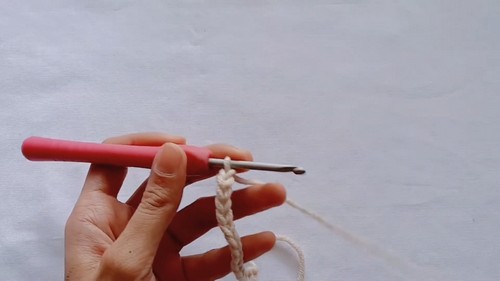
Working in the round creates a seamless tube that eliminates the need for side sewing, providing a much smoother feel against the skin.
Make a slip knot and chain a multiple of 6 to fit your bust measurement.
Join the chain into a ring with a slip stitch, ensuring it is not twisted.
Chain 1 and single crochet into every chain around, then join with a slip stitch.
Switch to the second color and work a cluster V stitch in the first stitch.
Skip two stitches and work another cluster V stitch in the next stitch.
Repeat the cluster V stitch pattern around and join with a slip stitch.
Switch back to the first color and work a V stitch into each chain space.
Join with a slip stitch at the end of the round.
Repeat the cluster V stitch round and the V stitch round, changing colors each round, until the desired body length is reached.
- Don’t let crochet patterns intimidate you! If you’re a beginner, the video tutorial below makes it super easy to follow along!
Upper Front and Back Worked in Rows
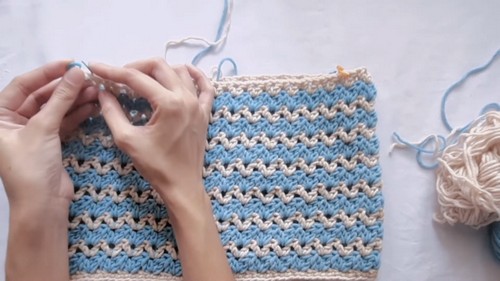
To transition from the round to rows, you must establish clear armhole gaps. This ensures the top doesn’t bunch under the arms and allows for a full range of motion.
Mark the front and back sections, skipping two V stitches on each side for armholes.
Attach yarn to the first marked stitch and continue the stitch pattern in rows instead of rounds.
Work rows until the neckline reaches the desired height.
Mark the number of stitches needed for each shoulder strap.
Work only across the marked stitches to form the first shoulder strap.
Repeat for the second shoulder strap.
Repeat the same steps to create the back panel.
Beginner Notes and Troubleshooting
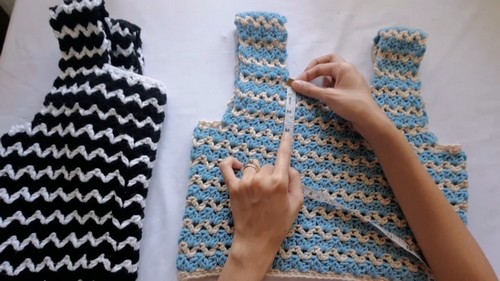
If you notice your panels leaning to one side as you work the rows, check your turning chain. Ensure you are not accidentally adding or skipping a stitch at the very edge of the panel. For the armhole skips, using a bright stitch marker will help you visualize exactly where to stop your rows so the front and back stay perfectly aligned.
Finishing

The way you join your shoulders defines the final silhouette of the garment. A slip stitch join provides a sturdy, slightly raised seam that helps the top hold its shape over time.
Turn the top inside out and align front and back shoulder straps.
Join the shoulders using slip stitches through both layers.
Secure the yarn and weave in all loose ends.
Finishing Tip: Once finished, consider lightly steam blocking the V-stitch sections. This helps open up the lace and allows the clusters to lay flat, giving the entire piece a more retail-ready drape.