
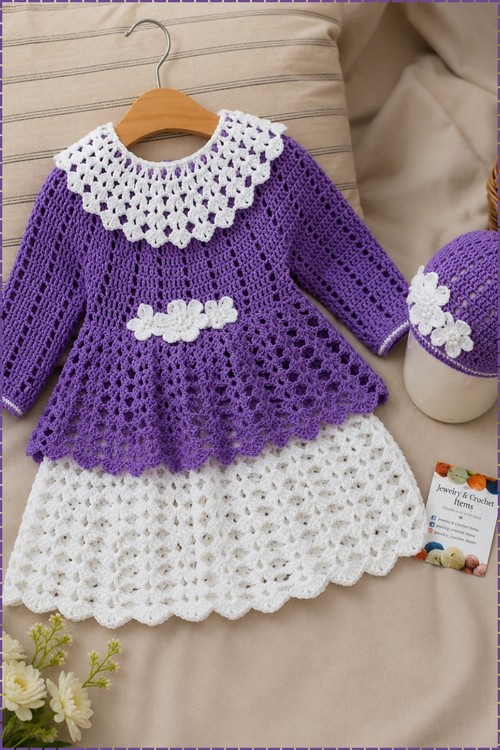
Sewn on during finishing, small pearl beads dot the white granny-shell collar of this purple toddler dress, which starts from an 80-chain yoke on a 3 mm hook. Plan on roughly 200 g of purple wool and 60 g of white, plus small buttons for the back placket.
Adding a collar transforms a plain sweater into something that reads as a finished garment rather than a basic layering piece, and this lacy shell collar does the work without complicated construction. The collar is worked in rounds from the neckline outward, which means it lies flat and frames the face without gaping or pulling. For a collar detail on an adult sleeveless piece, the sweater vest with collar shows how the same idea translates to a grown up silhouette.
Crochet A Collar On A Sweater
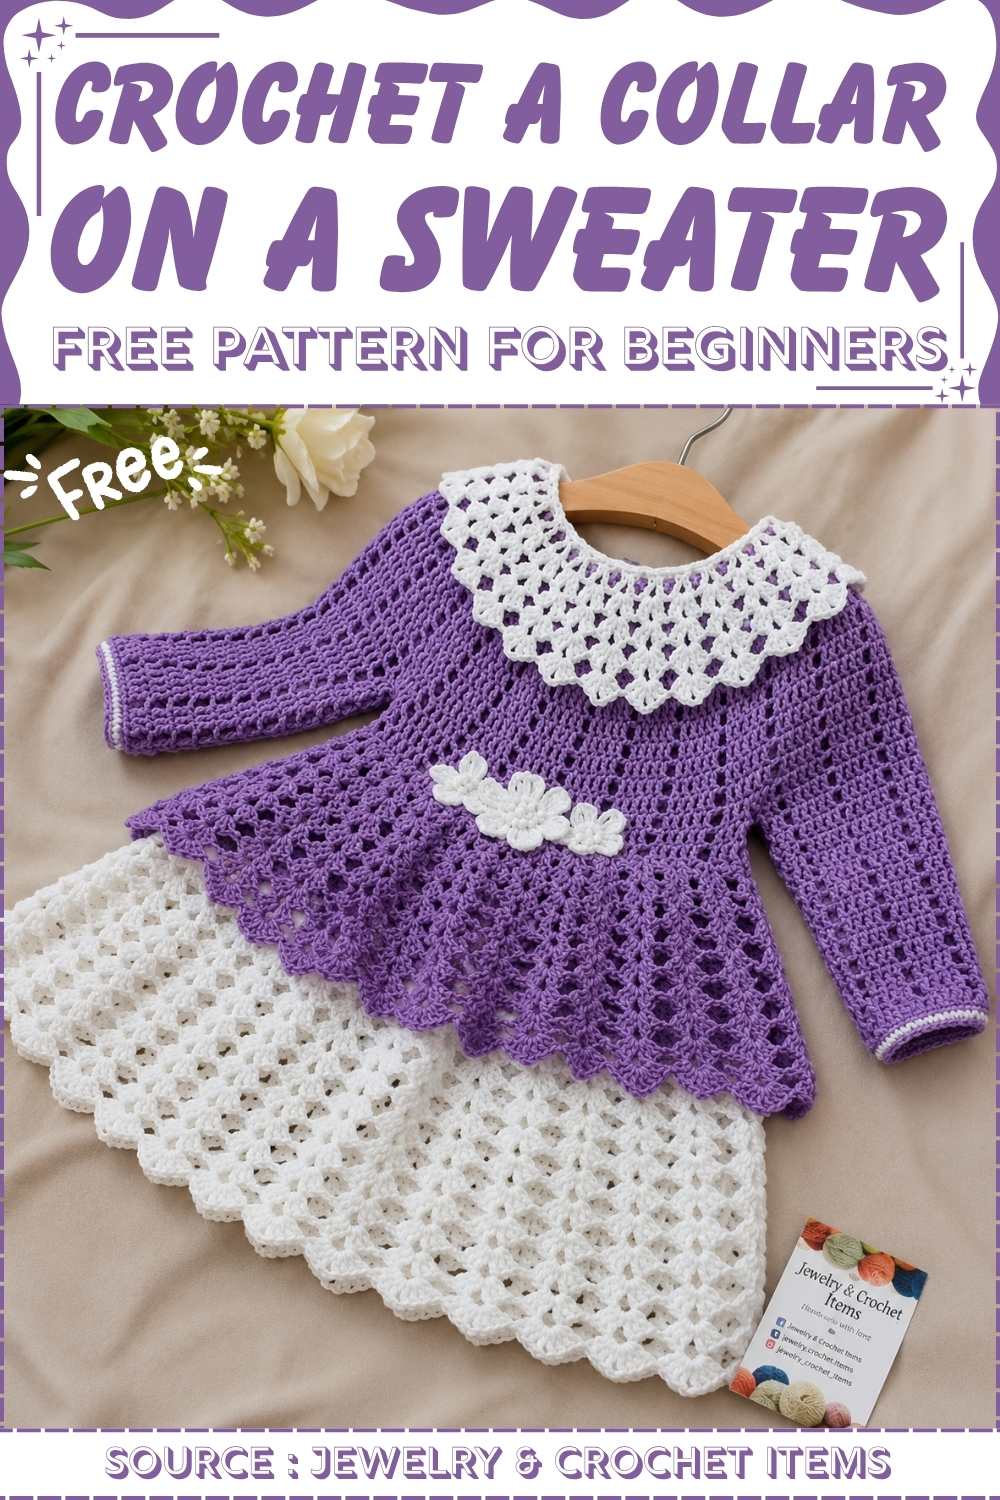
The full garment here is a baby or toddler dress with a purple shell stitch body and a white skirt panel below the waistband. The collar tutorial is the headline technique, but the shell repeat runs through the body and skirt as well, so learning the stitch once covers the whole project.
Materials & Tools
- Wool yarn, about 260 g total — roughly 200 g in purple and 60 g in white
- 3 mm crochet hook
- Yarn or tapestry needle
- Small pearl beads (for the collar and flower centers)
- Small buttons (for the back opening)
Abbreviations used in this pattern: ch = chain · dc = double crochet · sc = single crochet · sl st = slip stitch · st(s) = stitch(es) · sk = skip · sp = space · rep = repeat
Must-Know Stitch
Difficulty & Time
This sits at an advanced-beginner to easy-intermediate level. If you’re comfortable with double crochet and can keep track of a simple repeat across a row, you’ll manage this beautifully. It’s an unhurried project — the kind you pick up over a couple of relaxed evenings rather than race through in one sitting. The yoke asks for a little attention as it grows; after that, the body settles into a soothing rhythm.
A Few Notes Before You Start
This frock is worked flat, from the neck downward, with an opening left along the back for the buttons. The whole piece is built from little fan groups of double crochet separated by ch-1 spaces, so once you find the rhythm it repeats naturally.
A couple of things worth knowing up front:
- In the early yoke rows, each fan group grows by one stitch at a time — from 2 dc, to 3, to 4, and finally to 5. That gradual growth is what flares the flat neckline into a rounded yoke that sits softly over the shoulders.
- The turning chain at the start of most rows counts as your first double crochet, so don’t add an extra stitch into the same spot.
- The collar uses a growing “V-stitch” that opens into small shells, fanning outward a little more with each row.
The Pattern
Yoke (Purple)
- Foundation: Ch 80.
- Row 1: Skip the first 3 ch (this counts as your first dc), then work 1 dc in the next ch. Continue: ch 1, sk 1 st, 1 dc in each of the next 2 sts; repeat across. Turn. (2-dc groups)
- Row 2 (increase): Ch 3 (counts as first dc), 2 dc in the first group; then ch 1, 3 dc in the next group; repeat across. Turn. (3-dc groups)
- Row 3 (increase): Ch 3, 3 dc in the first group; then ch 1, 4 dc in the next group; repeat across. Turn. (4-dc groups)
- Row 4 (increase): Ch 3, 4 dc in the first group; then ch 1, 5 dc in the next group; repeat across. Turn. (5-dc groups)
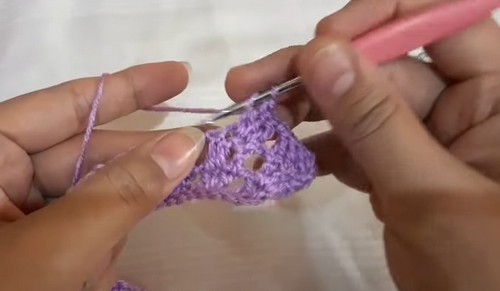
- Continuing rows: Work in the established 5-dc fan pattern. For example:
- Row 13: Ch 3, 4 dc, then (ch 1, 5 dc) across.
- Row 14: Ch 3, 4 dc, ch 1, 5 dc, (ch 1, 5 dc) across.
- Keep working the fan rows until the yoke reaches underarm depth. As you go, place stitch markers at your four section points — the two fronts/back panel and the two sleeves.
Divide for Sleeves
- On the divide row, work across in pattern to the first sleeve section, then ch 2, skip the sleeve group, and work 2 dc to rejoin at the body.
- Repeat this at the second underarm.
- The skipped sleeve stitches are left unworked for now — you’ll crochet the sleeves separately later.
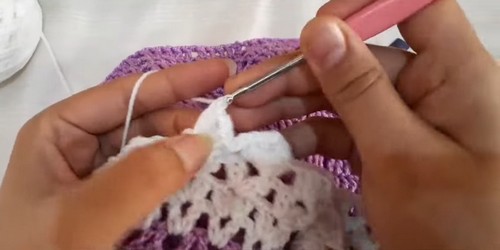
If you’re still learning how to read crochet patterns, no stress! Follow the video tutorial below and use the written pattern below as you get more comfortable!
Body (Purple)
- Continue the 5-dc fan pattern around the body (ch 1, 5 dc …), working across the ch-2 underarm bridges as you pass them.
- Repeat until you reach your stitch marker or desired length (about 18 inches total). Fasten off.
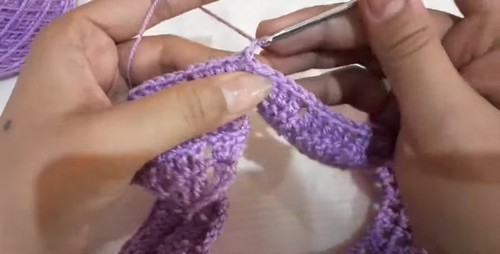
Button Placket — “Button Pati” (Purple)
Worked along both back opening edges.
- Band: Work 2 sc in each st along the back opening edge.
- Buttonhole row: Ch 3, skip 2 sts, then 1 sc in each st across. The ch-3 over the skipped 2 sts forms each buttonhole loop — space these to match your buttons.
- Edging: Ch 1, then 1 sc in each st around.
Collar (White)
Worked around the neckline as a growing granny-shell that fans outward a little more each row.
- Row 1: (1 dc, ch 2, 1 dc) in the same st; then ch 1, (1 dc, ch 2, 1 dc) in the next ch space; repeat around. (V-stitch base)
- Row 2: Ch 3, 1 dc in the first space; then ch 1, 2 dc, ch 2, 2 dc across (2-dc groups). Join with 2 sl sts to position for the next row.
- Row 3: Ch 3, 1 dc, ch 2, 2 dc in the ch-2 space (shell); then ch 1, 2 dc, ch 2, 2 dc in the next space; repeat across.
- Row 4: Ch 3, 2 dc, ch 2, 3 dc in the ch-2 space (the shell is now 3 dc); then ch 1, 3 dc, ch 2, 3 dc in the next space; repeat across. Fasten off.
- Sew pearl beads along the collar as shown.
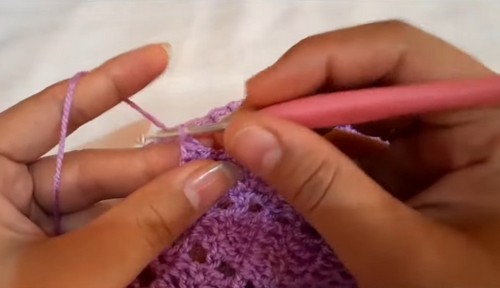
Finishing
- Weave in all ends.
- Sew the buttons to the back placket, opposite the buttonholes.
- Sew the pearl beads onto the collar.
A quick note: the white flower appliqués (5-petal, with pearl centers) and the white ruffled skirt shown in the thumbnail aren’t covered in these tutorial frames and appear to belong to a separate part.
Tips & Troubleshooting
- Mark your four sections early. Placing stitch markers at the two front/back points and two sleeve points while the yoke is still small makes the divide row far less stressful later.
- Keep your ch-1 spaces even. The whole look of the yoke depends on those little gaps between fans staying consistent, so try not to pull them too tight or leave them too loose.
- Count your turning chain as a stitch. Missing this is the most common reason a row ends up one stitch off, so build the habit early.
- Check the fit at the underarm before dividing. Try the yoke against your little one (or a similar-sized garment) so the armholes land where you want them.
- Block the collar gently. A light steam or wet block helps the white shells open up and lie flat, which really shows off the pearl detail.
- Sew beads on last, after weaving in ends. That way you’re not fighting loose tails around the delicate beadwork.
Yarn Substitution
Wool gives this frock a soft drape and a bit of warmth, which is lovely for a first birthday in cooler weather. If you’d prefer something more breathable or easier to wash, a cotton or cotton-blend DK will work well — just check your hook size against the yarn band, as cotton can crochet up a touch stiffer. Acrylic is a practical, budget-friendly choice for a garment that’ll be worn hard and washed often. Whatever you choose, keep the purple and white in the same weight so the yoke and collar sit together nicely, and make a small swatch first if you switch fibers.
Customization Ideas
- Swap the color story. A cream body with a soft pink or sage collar is just as sweet as the purple-and-white shown here.
- Skip the beads for an everyday version, or use tiny buttons instead of pearls for a playful touch.
- Lengthen the body by a few extra fan rows for a tunic-style frock over leggings.
- Add the ruffled skirt or flower appliqués (from the separate part mentioned above) if you want a fancier, occasion-ready finish.
- Change the collar depth by working one fewer or one extra row for a smaller or more dramatic fan.
FAQ
1. What size does this frock make? As written, it fits approximately a 1-year-old, with a finished width of about 11 inches and a length of about 18 inches. You can adjust the length by adding or removing body rows.
2. I’ve never made a top-down yoke before — is that a problem? Not at all. The increases are gentle and spaced out, growing each fan from 2 dc to 5 dc over just a few rows. Take the yoke slowly and the rest of the frock is a relaxed, repeating pattern.
3. How do the sleeves get made? On the divide row you leave the sleeve stitches unworked and bridge across with ch 2 at each underarm. Those skipped stitches are picked up and crocheted separately later, so the body and sleeves aren’t worked all at once.
4. Why is my yoke not lying flat? This usually comes down to tension in the ch-1 spaces or accidentally adding an extra stitch at the turning chain. Recount a row, make sure your turning ch-3 counts as the first dc, and keep the spaces even.
5. Can I make the back opening bigger for an easier fit? Yes. The button placket is worked along the back opening edges, so you can leave a slightly longer opening and add an extra button. Just space your buttonholes (the ch-3 / skip-2 loops) to match.



One Comment