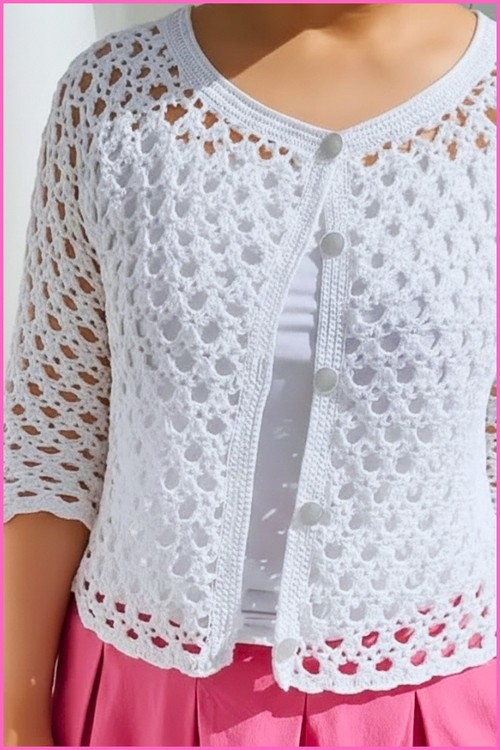
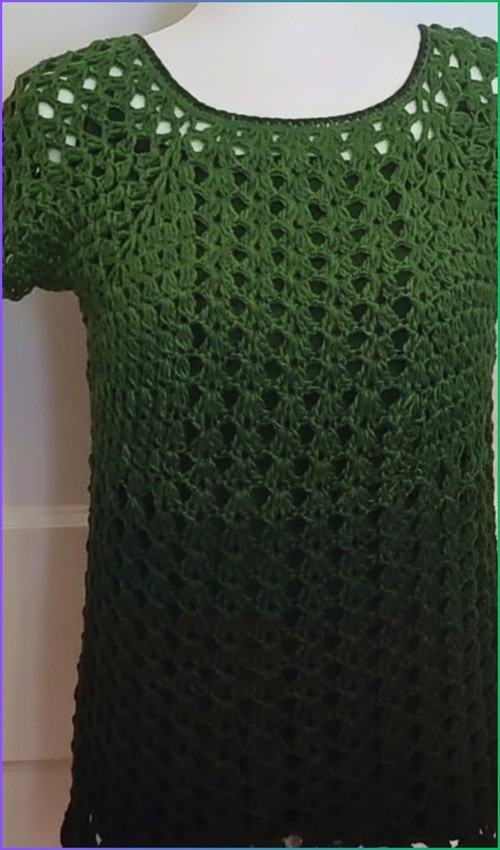
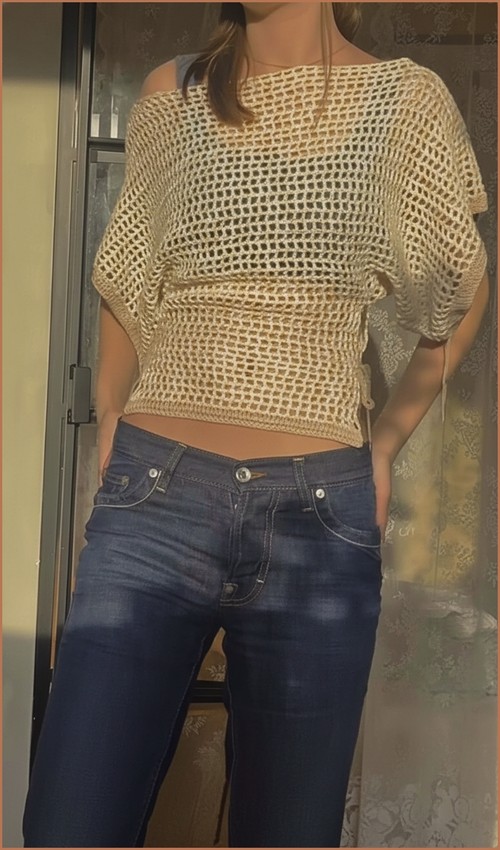
Mesh tops have a reputation for being fussy, but this one strips the construction back to its simplest form, a rectangular mesh panel worked in rows, folded and seamed at the shoulders, with the wide neckline doing the off-shoulder work on its own. The oversized fit means sizing is forgiving, and the open grid works up faster than it looks. If you like the airy quality here, the beginner-friendly mesh top is another easy entry point in the same stitch family.
Off-Shoulder Crochet Top Mesh
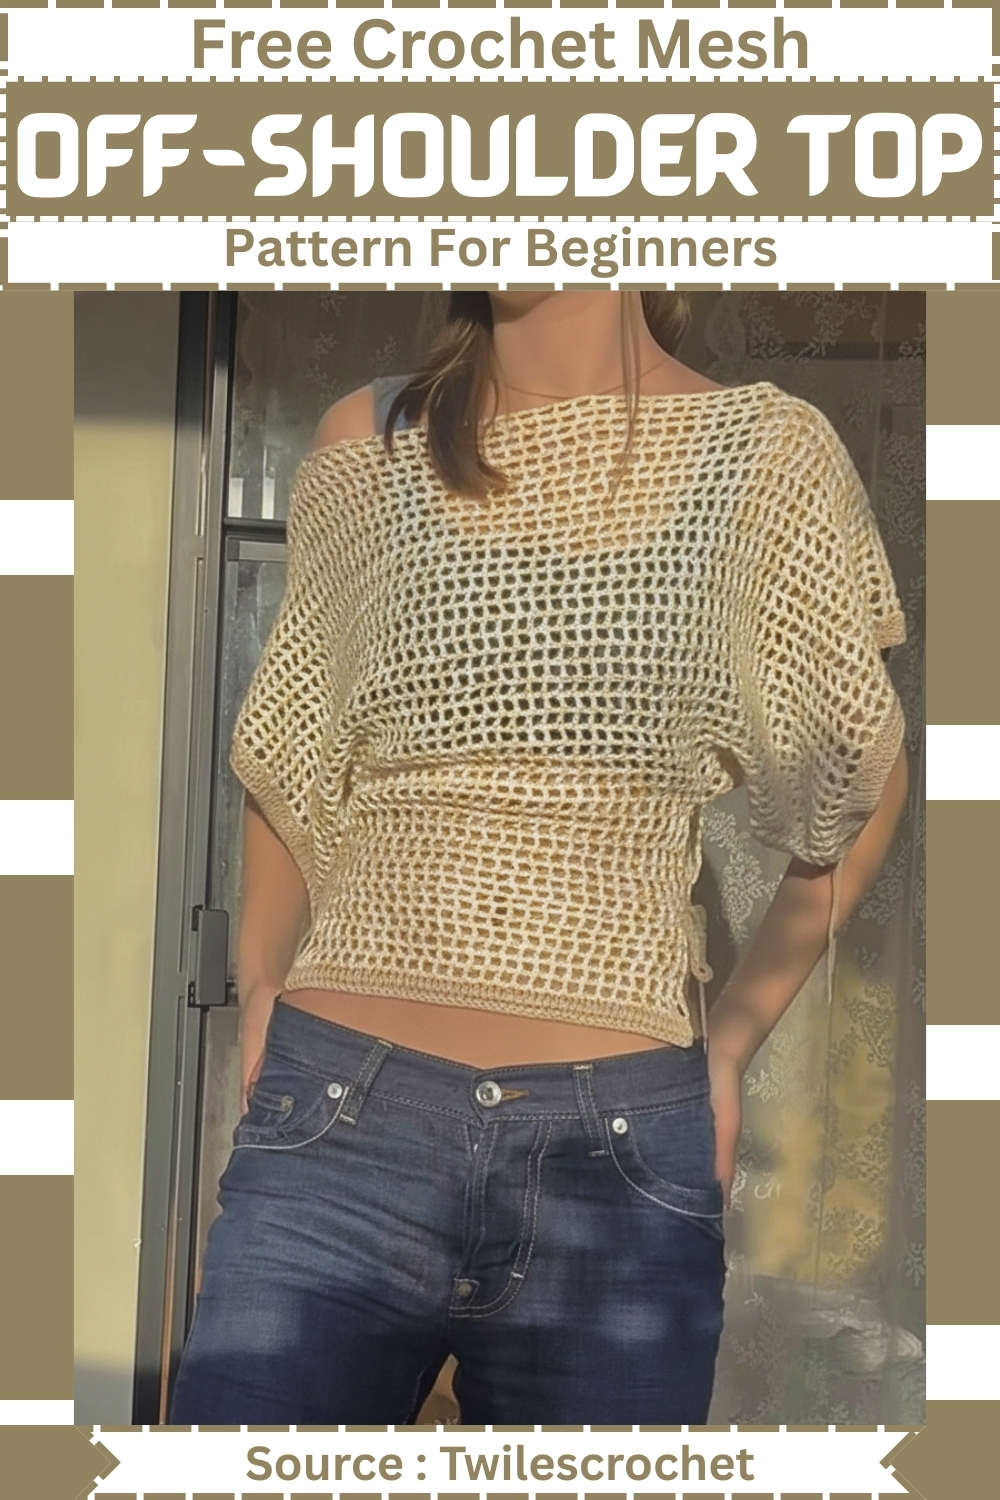
The whole top is built on a repeating mesh stitch one double crochet, one chain, repeat across, which makes it easy to memorize after the first couple of rows. Once you get the swatch tension right, the rest is just counting and turning. The mesh stitch tutorial is a good reference to have open while you work through your first panel.
Materials
Yarn: 100% Cotton Yarn (Lightweight/DK or Sport weight recommended), approximately 200 grams.
Hook: 3.0 mm crochet hook (or size needed to obtain desired drape).
Notions: Stitch markers, scissors, and a yarn needle for weaving in ends.
Sizing & Measurements
This pattern is designed to be completely customizable to your unique body shape. Because it is worked based on measurements rather than a fixed stitch count, you can easily create the perfect fit.
Bust/Sleeve Width: Measures from the desired sleeve length on one arm, across the bust, to the same point on the opposite arm.
Torso Width: Measures the front half of your torso from side to side.
Length: Easily adjustable by adding or subtracting rows in the body section.
Step-by-Step Pattern Instructions
Part 1: Bust and Sleeve Panel (Make 2)
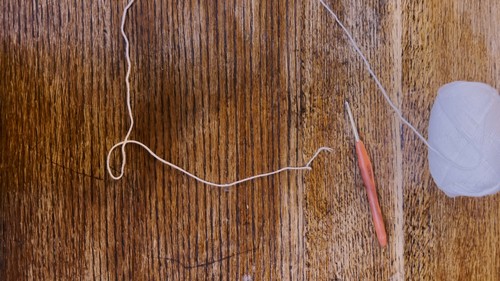
The main mesh pattern uses a classic filet crochet technique (Double Crochet, Chain 1, Skip 1).
Foundation Row: Create a foundation chain long enough to stretch comfortably from the end of one sleeve, across your bust, to the end of the other sleeve. Ensure your total chain count is an uneven number, then add 4 extra chains.
Row 1: Double crochet into the 7th chain from your hook (this creates your first mesh space). Chain 1, skip the next chain space, then double crochet into the following chain stitch. Repeat from * to * all the way across the row. Turn your work.
- Just starting out with crochet? The video tutorial below is a great place to begin, or challenge yourself with the written pattern below!
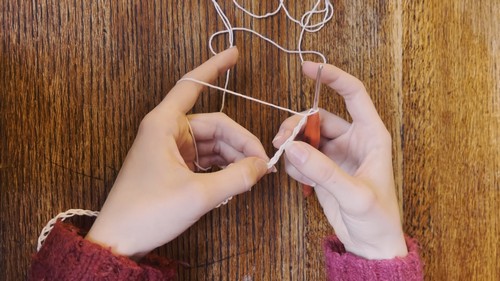
Row 2: Chain 4 (counts as your first double crochet and a chain-1 space). Skip the first chain-1 space. Double crochet into the next double crochet stitch, chain 1, skip the next chain-1 space. Repeat from * to * across the row, ending with a double crochet into the turning chain of the previous row. Turn your work.
Rows 3–28 (or until desired height): Repeat Row 2 until your panel reaches from the top of your shoulders down to just underneath your bustline. (Approximately 28 rows, but adjust to your preference). Do not fasten off if you are moving straight to the body, or mark your yarn if measuring first.
Pro-Tip: Perfecting the Turning Chain
Standard turning chains can sometimes leave large, sloppy gaps at the edges of your work. To keep your mesh edges looking crisp and straight, try using a Stacked Single Crochet instead of a Chain 4 at the start of your rows. To do this: Make a single crochet in the very first stitch, then insert your hook into the left vertical loop of that single crochet and make another single crochet on top of it. Chain 1, and continue your mesh pattern!
Part 2: Body Panel

You will now build the bottom half of the top directly onto the center of the sleeve panel.
Setup: Lay your bust panel flat. Measure the width of your torso from side to side. Center this measurement onto the bust panel, ensuring you leave an equal number of stitches/mesh spaces on both the left and right sides for the sleeves. Place stitch markers to mark the boundaries of this body section.
Row 1: Attach your yarn at the first marked stitch of the body section. Chain 4 (counts as a double crochet and chain-1). Work the standard mesh pattern (chain 1, skip 1, double crochet in the next stitch) across the width of the body until you reach your second stitch marker. Turn.
Rows 2–15 (or until desired length): Repeat the mesh pattern rows until your top reaches your preferred length (approximately 15 rows for a standard cropped fit).
Border Row 1: Chain 3 (counts as your first double crochet). Work a solid row of double crochet by placing exactly 1 double crochet into every chain-1 space and 1 double crochet into every double crochet stitch across. Turn.
Border Row 2: Chain 3. Work 1 double crochet into every double crochet stitch across the row to finish the solid band. Fasten off.
Part 3: Second Panel

Repeat all instructions from Part 1 and Part 2 to create a second, identical piece.
Part 4: Assembly and Seaming
Preparation: Lay both completed panels directly on top of each other with the wrong sides facing out (the textured or less tidy sides). Align the rows and spaces perfectly.
Underarms: Using your crochet hook, attach yarn at the bottom cuff of one sleeve. Slip stitch the front and back panels together, working your way along the bottom of the sleeve toward the body to securely close the underarm section. Repeat on the other side.
Shoulders & Neckline: Attach yarn at the outer top corner of one sleeve. Slip stitch along the top edge of the sleeves to join them. Stop seaming when you reach your desired off-shoulder neckline width. Leave a wide, centered opening for your head and neck. Repeat for the other sleeve. Fasten off and turn the top right-side out.
Part 5: Finishing Touches
Sleeve Borders: Attach your yarn to the cuff opening of a sleeve. Work 2 complete rounds of solid double crochet around the entire sleeve opening to match the bottom border of the top. Join each round with a slip stitch. Repeat on the second sleeve.
Optional Side Ties: For an adjustable, cinched look, attach your yarn to the side edges where the body panel meets the bust panel. Chain until you reach your desired tie length, then slip stitch back down the chain to the body. Fasten off.
Finishing: Weave in all loose yarn ends securely using a yarn needle, cut any excess tails, and block your top to open up the beautiful mesh stitch pattern!