
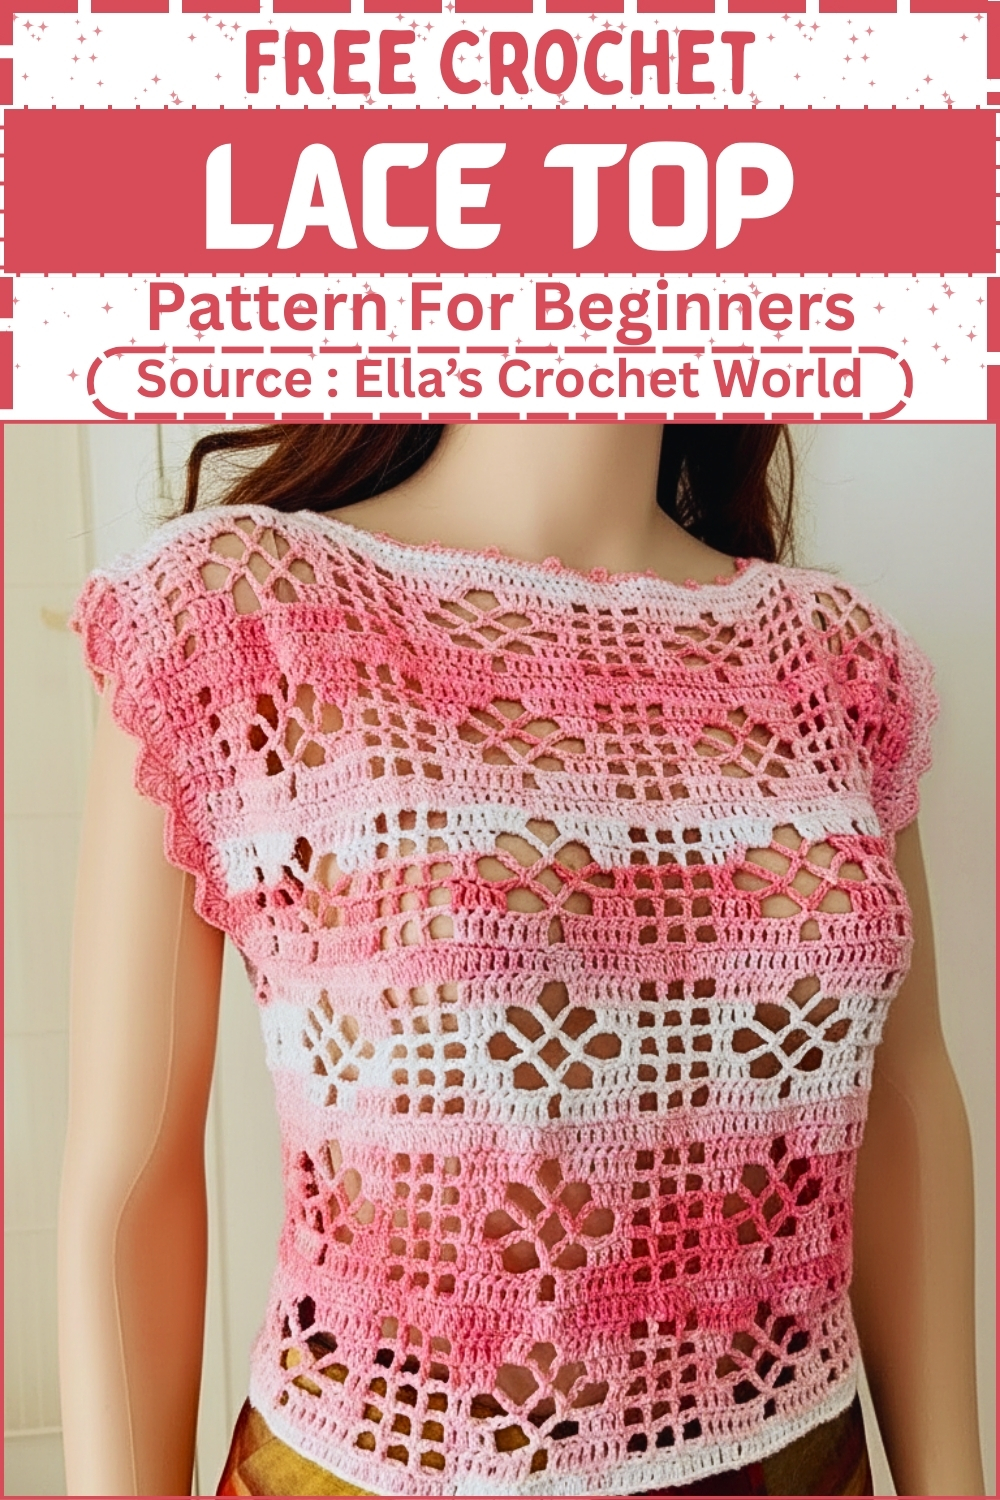
The two-color stripe effect comes from simply switching yarn at the start of each section rather than carrying both throughout, which keeps the back of the work clean and the tension consistent. For a summery sister project in a completely different silhouette, the mesh cowl halter uses that same lightweight drape in a totally different shape.
Materials
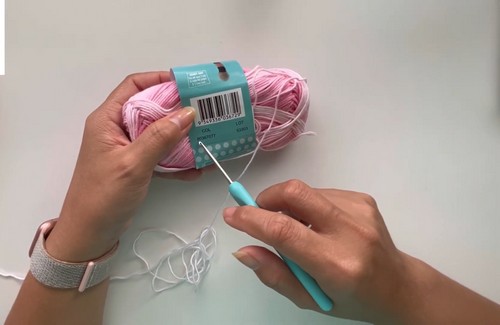
- 100 percent cotton yarn approximately 50 g
- 3.5 mm crochet hook
Sizing and Stitch Notes
- Pattern multiple is 24 plus 6
- Sample size uses four multiples of 24 plus 6 extra chains
- Stitches used are chain single crochet and double crochet
How to choose your width: The width of the top is determined entirely by your starting chain. Each repeat of 24 stitches adds one full lace diamond unit across the fabric. The extra 6 chains balance the edges so the lace pattern sits evenly from side to side. If you want a looser or more relaxed fit, add more repeats. For a closer fit, reduce the number of repeats while keeping the multiple intact.
Why cotton works best here: Cotton holds stitch definition well and gives the lace structure without collapsing. The diamonds stay crisp, and the finished fabric does not stretch out of shape as easily as softer fibers.
Foundation and Setup
- Make a foundation chain using a multiple of 24 plus 6
- Turn your work to begin Row 1
Helpful note: Turning before Row 1 allows the skipped chains to line up correctly as your first double crochet. This keeps the starting edge straight and avoids pulling at the corners later.
Row 1 Foundation Row
- Skip the first 3 chains to count as the first double crochet
- Work one double crochet into each chain across
- Don’t let crochet patterns intimidate you! If you’re a beginner, the video tutorial below makes it super easy to follow along!
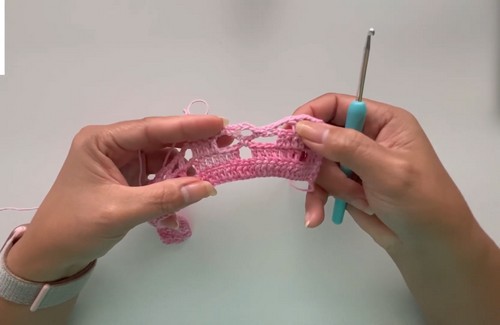
What this row does: This row establishes a solid base. Even though the top is lace-heavy, this foundation row gives stability so the mesh rows above do not sag or distort.
Row 2 Setting the Mesh
- Chain 3 and turn
- Work one double crochet into each of the next 3 stitches
- Chain 2 and skip 2 stitches
- Work 7 double crochets
- Chain 2 and skip 2 stitches
- Work 7 double crochets
- Chain 2 and skip 2 stitches
- Work one double crochet
- Chain 2 and skip 2 stitches
- Work one double crochet
- Chain 2 and skip 2 stitches
- Work 7 double crochets
- Chain 2 and skip 2 stitches
- Work 7 double crochets
- Chain 2 and skip 2 stitches
- Finish the row with 4 double crochets
Stitch clarity: This row introduces the lace spacing by alternating solid double crochet groups with chain-2 gaps. Those gaps will become anchor points for the diamond shapes later. Keep your chain-2 loops relaxed but consistent so the lace opens evenly.
Row 3 Starting the Diamond Shape
- Chain 3 and turn
- Work 3 double crochets
- Chain 2 and skip the next space
- Work 4 double crochets into the first 4 stitches of the previous group
- Chain 5
- Work one single crochet into the chain 2 space
- Chain 5
- Skip 3 double crochets
- Work 4 double crochets into the last 4 stitches of the previous group
- Continue maintaining the chain 2 and double crochet mesh in the center sections
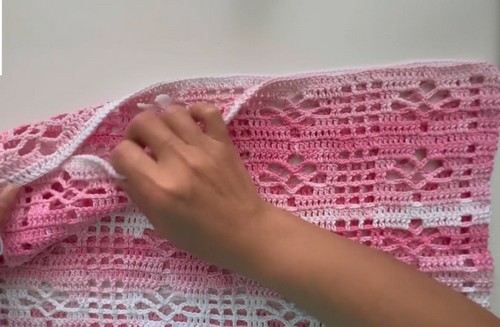
Why this row matters: This is where the diamond outline begins to form. The chain-5 sections create the vertical stretch of the diamond, while the single crochet anchors the center so the shape does not drift sideways.
Row 4 Expanding the Lace
- Chain 3 and turn
- Work 3 double crochets
- Chain 2
- Work 2 double crochets into the first 2 stitches
- Chain 5
- Work one single crochet into the first chain 5 space
- Chain 5
- Work one single crochet into the next chain 5 space
- Chain 5
- Skip 2 double crochets
- Work 2 double crochets into the last 2 stitches
Shaping explanation: This row widens the diamond by stacking chain-5 spaces. The single crochets keep the lace centered while allowing the fabric to stay flexible and breathable.
Row 5 Closing the Diamond
- Chain 3 and turn
- Work 3 double crochets
- Chain 2
- Work 2 double crochets into the next stitches
- Work 2 double crochets into the chain 5 space
- Chain 5
- Work one single crochet into the middle chain 5 space
- Chain 5
- Work 2 double crochets into the next chain 5 space
- Work 2 double crochets into the remaining stitches
What to watch for: Make sure you are working into the correct chain-5 spaces. Placing stitches into the wrong loop will twist the diamond and affect how the repeats stack vertically.
Row 6 Finishing the Repeat
- Work 4 double crochets into the existing stitches
- Work 3 double crochets into the chain 5 space
- Chain 2
- Work 3 double crochets into the next chain 5 space
- Work 4 double crochets into the remaining stitches
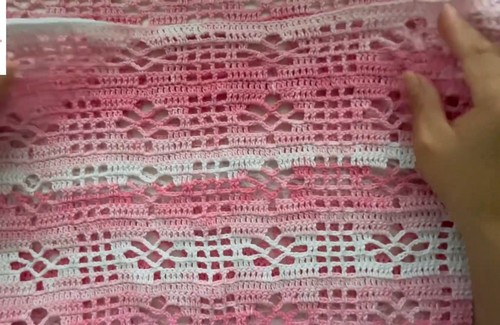
Purpose of this row: This row locks the lace back into a solid structure so the next repeat starts cleanly. It also prevents the fabric from flaring outward as the diamonds repeat.
Main Panel Completion
- Repeat Rows 1 through 6 until the panel reaches your desired height
- Finish with a full row of double crochet to match the starting edge
Length guidance: Because the lace pattern grows evenly, you can stop at any point after completing a full six-row repeat. Ending with a solid double crochet row gives the hem weight and balance.
Assembly
- Make two identical panels
- Join the panels at the shoulders
- Sew the side seams leaving openings for the armholes
Assembly tips:
- Lay panels flat and align stitch counts before sewing
- Use mattress stitch or slip stitch for a clean seam
- Try the top on before closing the sides fully to adjust armhole depth if needed

Fit and Wear Notes
- The straight-panel construction creates a relaxed fit
- Cotton yarn gives structure with minimal stretch
- Lace diamonds provide airflow, making this top ideal for warm weather
- For a longer top, continue repeating the panel rows before assembly
Beginner Notes
- Count stitches at the end of each row to stay aligned
- Place stitch markers in chain-5 spaces if you lose track
- Keep turning chains consistent to avoid edge curling
Troubleshooting Common Issues
- Lace looks uneven: Check chain tension, especially chain-5 sections.
- Diamonds shifting sideways: Confirm single crochets are placed into the correct chain-2 or chain-5 spaces.
- Edges curling: This usually relaxes after blocking or wearing, especially with cotton yarn.
Finishing Notes
Block lightly to open the lace and even out stitch tension. Steam blocking works well for cotton, but avoid stretching the diamonds too aggressively.


