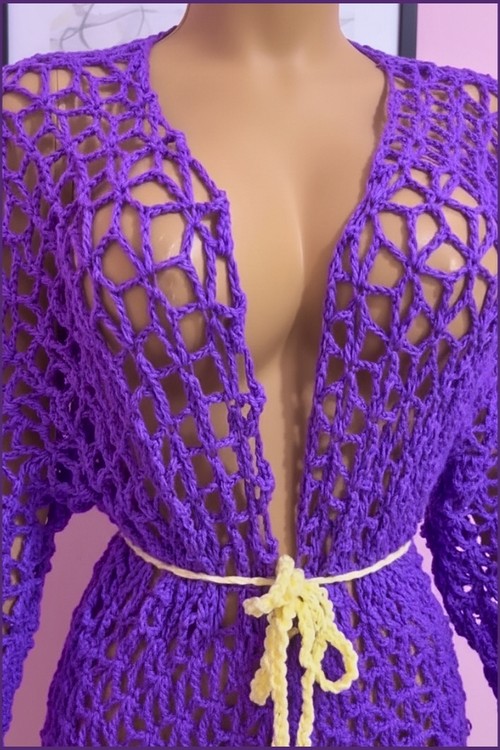
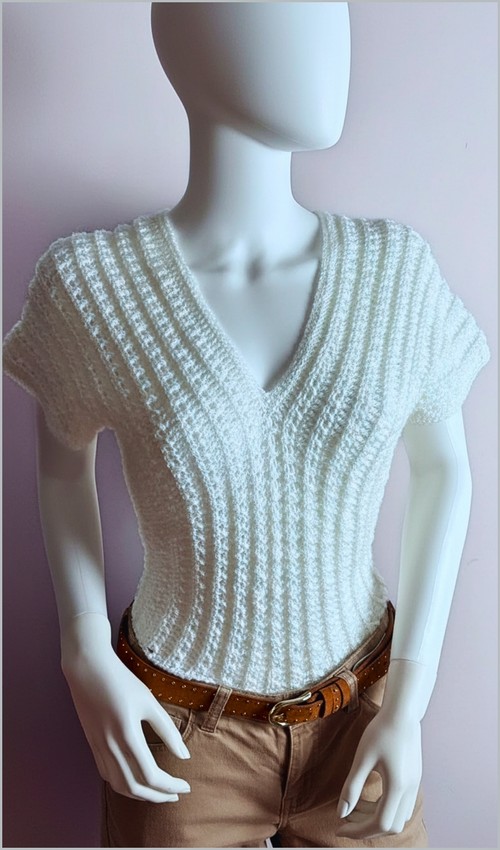
A crochet white tank top is one of those pieces that looks simple at first glance but depends heavily on good construction and stitch choice to work well. When the fabric is too stiff, it feels boxy; when it is too loose, it loses shape and support. This pattern balances structure and flexibility by combining a crossed stitch texture with clean double crochet rows, creating a tank top that holds its form while still feeling light and wearable.
Crochet White Tank Top

This top is built as a single flat panel that later folds at the shoulders, which keeps the construction simple while allowing the stitch pattern to do the visual work. Understanding how the front and back flow into one continuous piece will help you stay oriented as you move between rows, especially when the neckline opening is created mid-row.
Materials
- Double Knitting yarn
- 4 mm crochet hook
- Yarn needle
- Stitch markers
Sizing And Foundation Chain
- Use a multiple of 2 plus 4
- Small size chain 136 stitches
- Medium size chain 142 stitches
- Large size chain 148 stitches
Why this matters
- The crossed half double crochet pattern relies on pairs of stitches.
- The “multiple of 2 plus 4” ensures the crossed stitches stay balanced from edge to edge, while the extra chains account for turning height and edge stability.
- If you adjust sizing beyond these three options, keep the same stitch multiple and adjust only the total chain length.
Front Panel
- Row 1 skip the first three chains and work one double crochet into each chain across
- Row 2 chain two and turn skip the next stitch work one half double crochet into the next stitch then work one half double crochet back into the skipped stitch repeat across and end with one half double crochet
- Row 3 chain three and turn work one double crochet into the back loop only of every stitch across
Repeat row two and row three until the panel reaches the required width
- Small size work 17 rows
- Medium size work 21 rows
- Large size work 25 rows

Stitch and shaping clarity
- Row 2 is the defining row of this pattern.
- The crossed half double crochet creates texture and stretch, but it can feel awkward the first few repeats.
- Skipping a stitch, working forward, then working back into the skipped stitch will twist the fabric slightly.
- That twist is intentional and gives the fabric structure.
- Row 3 works only into the back loops of the double crochets.
- This does two things: it creates a subtle ridge for texture, and it prevents the fabric from becoming too dense as the rows stack.
- If your edges begin to lean or ripple, pause and check that you are not accidentally skipping or adding stitches at the row ends.
- Stitch markers at the first and last stitch can help maintain clean edges.

Creating The Neck Opening
- Count 33 stitches from each end and place markers to mark the shoulder sections
- Work the crossed half double crochet row until reaching the first marker
- Chain 74 stitches for the neck opening for medium size
- Skip the center section and attach yarn at the second marker
- Continue the crossed half double crochet pattern to the end of the row
Understanding the neckline construction
- The neckline is formed by chaining across the center instead of working stitches.
- The marked sections become the shoulders, while the chained space creates the opening.
- When you chain for the neckline, keep the tension relaxed.
- Tight chains can cause the neckline to pull inward after finishing.
- If you tend to chain tightly, consider using a hook one size larger just for the neckline chain.
- For other sizes, the shoulder stitch count stays the same, but the neckline chain length may be adjusted slightly for comfort.

Back Panel
- Continue repeating the back loop double crochet row and crossed half double crochet row
- Work the same number of rows as completed for the front panel
Consistency check
- Matching the row count exactly ensures the shoulders align cleanly when folded. Before moving on, lay the panel flat and confirm both sides of the neckline are even.
Assembly And Finishing
- Fold the piece at the shoulder line
- Sew the side seams leaving an opening for armholes approximately 20 to 23 centimeters
- Join yarn at the neckline and work five rounds of slip stitches or single crochet
- Decrease evenly at the four corners of the neckline to maintain shape
- Work one round of single crochet around each armhole for a clean finish
Fit and finishing guidance
- When sewing the side seams, try the piece on or measure against a well-fitting top to confirm armhole depth before securing the final stitches.
- The 20 to 23 centimeter opening allows movement without excess gaping.
- The neckline edging rounds stabilize the opening and prevent stretching over time.
- Decreasing at the four corners helps the neckline lie flat rather than forming a square shape.
- For armholes, a single round of single crochet is usually enough.
- Work loosely to avoid tightening the opening.
Beginner Notes
- Practice the crossed half double crochet on a small swatch before starting the main piece.
- Count stitches frequently during Row 2, especially near the edges.
- Use stitch markers at shoulder points and row ends to reduce mistakes.
Troubleshooting
- Fabric feels stiff: Check that your tension is not too tight, especially on the crossed stitch row.
- Neckline pulling inward: Loosen the neckline chain or use a larger hook just for that section.
- Uneven edges: Confirm turning chains are consistent and not counted as stitches unless intended.
Final Notes
- This design rewards steady, consistent tension more than speed. Take time to understand how each row supports the next, and the finished top will drape cleanly with well-defined texture.
- When you’re ready, you can customize length, sleeve additions, or edging styles without altering the core structure of the pattern.