

The waffle stitch earns its name. The grid of raised squares it produces is genuinely dimensional thick, structured, and satisfying to both make and touch.
Crochet Waffle Stitch
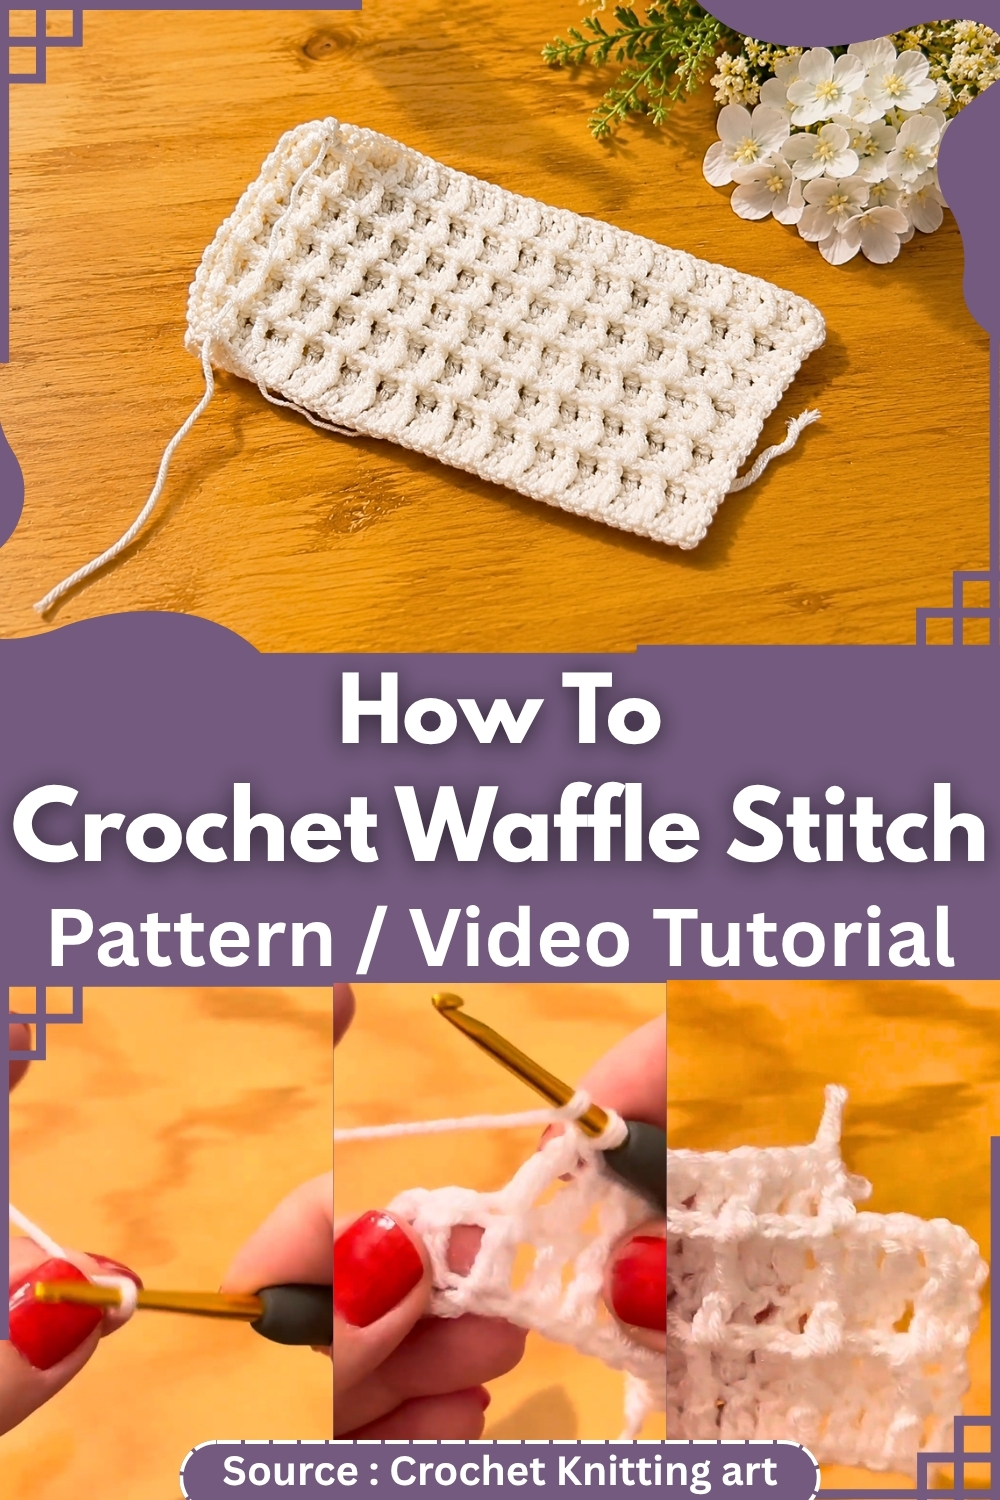
Two rows alternate: one shifts front post double crochets and plain double crochets in a 1-2 sequence, the next flips it to 2-1. That offset is what builds the crossed ridges that read as a waffle surface rather than simple ribbing. Medium weight yarn on a 3 mm hook keeps the texture tight and well-defined.
Materials
- Medium weight yarn
- 3 mm crochet hook
- Scissors
- Yarn needle
Abbreviations
- ch — chain
- dc — double crochet
- fpdc — front post double crochet
- st / sts — stitch / stitches
The Pattern
Stitch Multiple
- Chain a multiple of 3 + 2.
- Example: Chain 14 for a practice swatch (12 + 2).

Row 1
- Work 1 dc in the 4th chain from the hook. (The skipped 3 chains count as the first dc.)
- Work 1 dc in each remaining chain across.
- Chain 3. Turn.
- Just starting out with crochet? The video tutorial below is a great place to begin, or challenge yourself with the written pattern below!
Row 2
- The turning chain counts as the first stitch.
- Work 1 fpdc around the next stitch.
- Work 1 dc in each of the next 2 stitches.
- Repeat across: 1 fpdc, 2 dc.
- Work 1 dc into the top of the turning chain.
- Chain 3. Turn.

Row 2 builds the horizontal ridges of the waffle texture. The fpdc wraps around the post of the stitch below — insert your hook from front to back to front around the post, not into the top loops. This is what raises the stitch forward and creates the surface grid.
Row 3
- The turning chain counts as the first stitch.
- Work 1 fpdc around each of the next 2 stitches.
- Work 1 dc in the next stitch.
- Repeat across: 2 fpdc, 1 dc.
- Work 1 dc into the top of the turning chain.
- Chain 3. Turn.

Row 3 forms the vertical raised sections that complete the waffle effect. The offset from Row 2 — 2 fpdc where Row 2 had 1, 1 dc where Row 2 had 2 — is what creates the crossing grid rather than parallel lines.
Repeat
- Repeat Row 2.
- Repeat Row 3.
- Continue alternating until the project reaches the desired length.
Finishing
- Fasten off when the desired size is reached.
- Cut the yarn, leaving a tail for weaving.
- Pull the yarn tail through the final loop and tighten securely.
- Weave in all loose ends.
A Note on Hook Size
The pattern calls for a 3 mm hook with medium weight yarn, which produces a dense, structured fabric — excellent for dishcloths, pot holders, and cozy home goods where firmness matters. A larger hook with the same yarn softens the texture and adds drape, making it better suited to accessories and lightweight blankets. A smaller hook compresses the grid further and creates something very firm. The stitch multiple stays the same across all hook sizes; only the fabric character changes.
FAQ
1. What is a front post double crochet and how is it different from a regular dc? A standard double crochet is worked into the top two loops of a stitch. A front post double crochet bypasses the top loops entirely — instead, you insert your hook from front to back to front around the vertical post of the stitch in the row below, yarn over, and complete the dc from there. The stitch sits in front of the fabric surface, which is what creates the raised ridge. If your waffle texture looks flat, check that you are wrapping around the post rather than working into the top loops.
2. My stitch count keeps changing between rows. What is going wrong? The most common cause is missing the final dc into the top of the turning chain at the end of each row. The turning chain (ch 3) counts as the first stitch, and the dc into its top closes the row evenly. Skipping it removes one stitch per row; adding an extra one adds a stitch. Count at the end of every row until the repeat is fully locked in.
3. Can I use a different yarn weight? Yes. The structure of the repeat works across weights. Lighter yarn on a smaller hook produces a finer, denser waffle; heavier yarn on a larger hook makes a chunkier version with more visible raised squares. The fabric is always thick relative to the yarn weight because of the post stitches building on top of each other — factor that into project planning, especially for garments.


