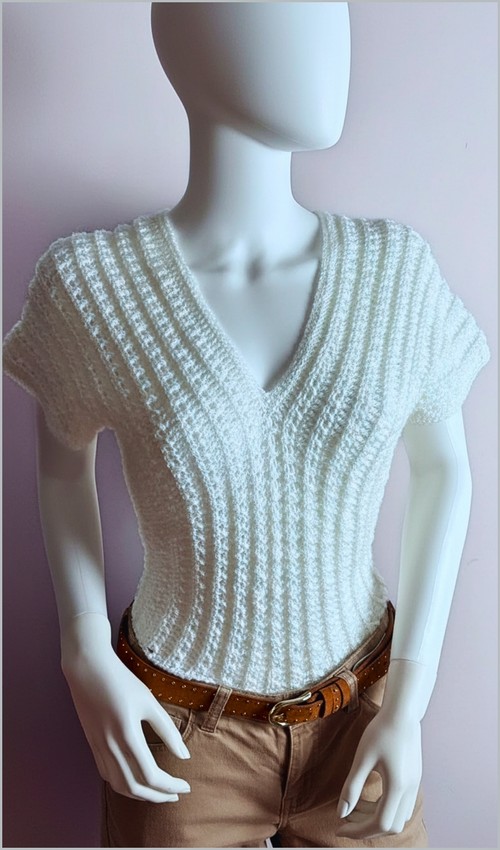
Crochet Crop Top With Sleeves

This top is built in clear stages that layer structure first, then softness, then adjustability. You begin with a fitted corset-style waistband, build upward into a gathered bust, stabilize the back with lacing, and finally add straps and puff sleeves for balance. Understanding how each section supports the next makes the project feel controlled instead of overwhelming, especially since fit adjustments are worked in as you go rather than saved for the end.
Materials
- Yarn suitable for garment crochet
- Crochet hook compatible with yarn
- Scissors
- Yarn needle
- Stitch markers
The Corset Base Waistband
What this section does
- The waistband creates structure and anchoring.
- The alternating double crochet and back-loop-only half double crochet rows give firmness without stiffness, which is important because everything else is built on top of this tube.
Steps
- Start with a slipknot and chain to desired length such as 28 chains for approximately 6 inches
- Chain 3 then double crochet in the third chain from the hook and in every remaining chain
- Chain 2 turn and double crochet in every stitch
- Chain 2 turn and half double crochet in the back loop only of every stitch using both loops for the last stitch
- Repeat one row of double crochet followed by three rows of half double crochet in back loop only until it fits around the waist
- Slip stitch the two short ends together to form a tube
- Work two single crochets into each row along the top edge to finish

Stitch and shaping clarity
- The back-loop-only rows create vertical ribbing, which helps the waistband stretch slightly without losing shape.
- Using both loops on the last stitch of each row stabilizes the edge so the tube joins cleanly.
- Working two single crochets into each row along the top edge evens out row height differences and gives you a strong base for the bust section.
Fit guidance
- Chain length controls height, not waist size. The waist fit comes from how many rows you repeat before joining.
- The tube should be snug but comfortable. It will relax slightly once worn.
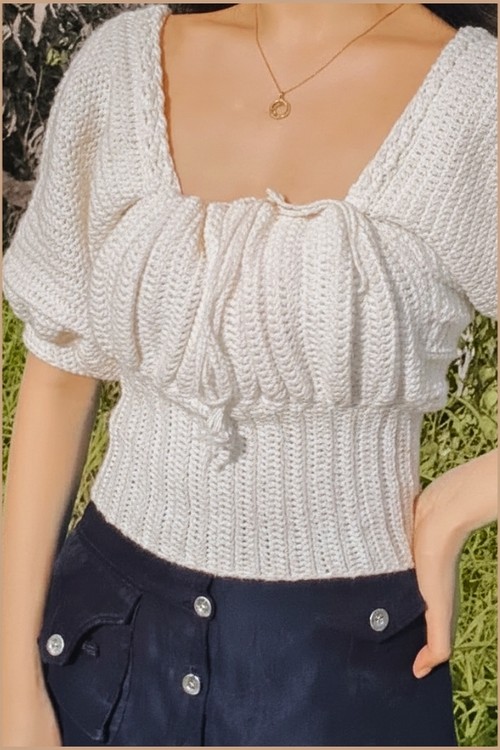
The Bust Part Ruffles
What this section does
- This section adds coverage and shape while staying adjustable.
- The ruffles are created by alternating rows and controlled slip stitch placement, not by aggressive increases.

Steps
- Attach yarn to the top edge of the corset and chain to desired height such as 25 chains
- Double crochet in each chain ending with one half double crochet in the last stitch
- Turn slip stitch into the first two stitches turn again half double crochet in the first stitch then double crochet across
- Chain 2 turn double crochet across ending with half double crochet then slip stitch into the next base stitch
- Continue alternating the two previous rows while varying slip stitch placement to create ruffles
- Make a long chain tie and weave it through the bust section every few rows to gather and adjust fit
Stitch and shaping clarity
- Ending rows with half double crochet softens the edge and prevents sharp corners.
- Slip stitching into different base stitches changes where the fabric pulls inward, creating ruffles instead of flat panels.
- The chain tie is functional, not decorative. It allows you to fine-tune coverage and shaping after the top is complete.
Fit guidance
- Taller busts can increase the starting chain height.
- Weave the tie loosely at first and tighten gradually while trying the top on.

The Back Part Corset Ties
What this section does
- This section adds structure, visual interest, and adjustability. The front post stitches create texture and strength, while eyelets allow lacing.
Steps
- Attach yarn at the left side of the bust section and half double crochet across to the marked point
- Slip stitch into two base stitches turn then work four half double crochets followed by two front post half double crochets repeating across
- Alternate between a plain half double crochet row and the textured front post row
- Create eyelets by working two half double crochets chain two skip two stitches and continue
- Finish by attaching a long chain tie for adjustable back lacing
Stitch and shaping clarity
- Front post half double crochets reinforce the fabric where tension will sit from lacing.
- Eyelets spaced with chain-two gaps give flexibility without weakening the panel.
- Alternating textured and plain rows prevents the back from becoming too stiff.
The Straps
What this section does
- The straps stabilize the top vertically and visually connect the bust to the back section.
Steps
- Attach yarn at the third row of the bust section
- Work six double crochets across for two rows
- On the texture row alternate double crochet and front post double crochet across
- Repeat strap pattern until strap reaches approximately 12 inches
- Single crochet to attach the strap to the back section
Fit guidance
- Try the top on before attaching permanently. Strap length affects bust support.
- Front post stitches help straps resist stretching over time.
The Puff Sleeves
What this section does
- The sleeves add volume and softness to balance the structured corset base.

Steps
- Work two single crochets into each row evenly around the armhole opening
- Crochet plain double crochet rounds to form the sleeve tube
- Increase volume by working five double crochets followed by one increase around alternating with plain rows
- Shape the cuff by working two double crochets together followed by one double crochet around
- Continue with two half double crochets together followed by one half double crochet around
- Finish with several rows of plain half double crochet to create a snug wrist cuff
Shaping clarity
- Even single crochet placement around the armhole prevents twisting.
- Alternating increase rows controls puffiness so the sleeve stays wearable, not bulky.
- Gradual decreases at the cuff transition the sleeve from loose to fitted smoothly.
Beginner Notes
- Use stitch markers at row starts and eyelet rows to avoid losing placement.
- Try the top on often. This design expects fitting as you go.
- Block lightly after finishing to relax stitches before final adjustments.
Troubleshooting
- Waistband feels stiff: Switch to a slightly larger hook for the back-loop-only rows.
- Bust ruffles look uneven: Check slip stitch placement consistency.
- Sleeves flare too much: Skip one increase round and continue plain rows.
Finishing Notes
- Weave in ends securely, especially around straps and lacing areas.
- Adjust the bust and back ties while wearing the top to find your ideal fit.
- This design is meant to be customized on the body, not forced into fixed measurements.