
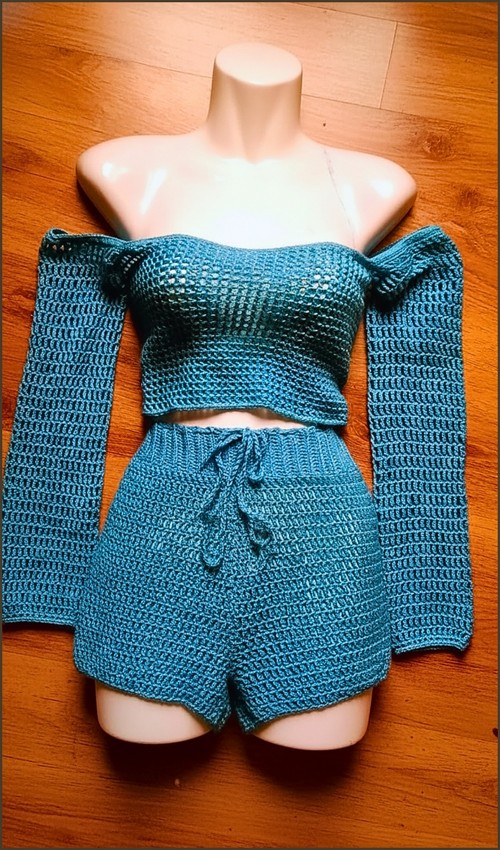
An off-shoulder top with built-in bell sleeves is a more considered design than the name suggests the sleeves aren’t added on, they’re integral to how the top sits and drapes off the shoulders. Working in hdc throughout keeps the fabric light enough to move well without sacrificing the structure the strapless bodice needs. For a different take on the off-shoulder silhouette, the long sleeve off-shoulder top covers similar styling territory with a different construction approach.
Crochet Off-Shoulder Top Pattern
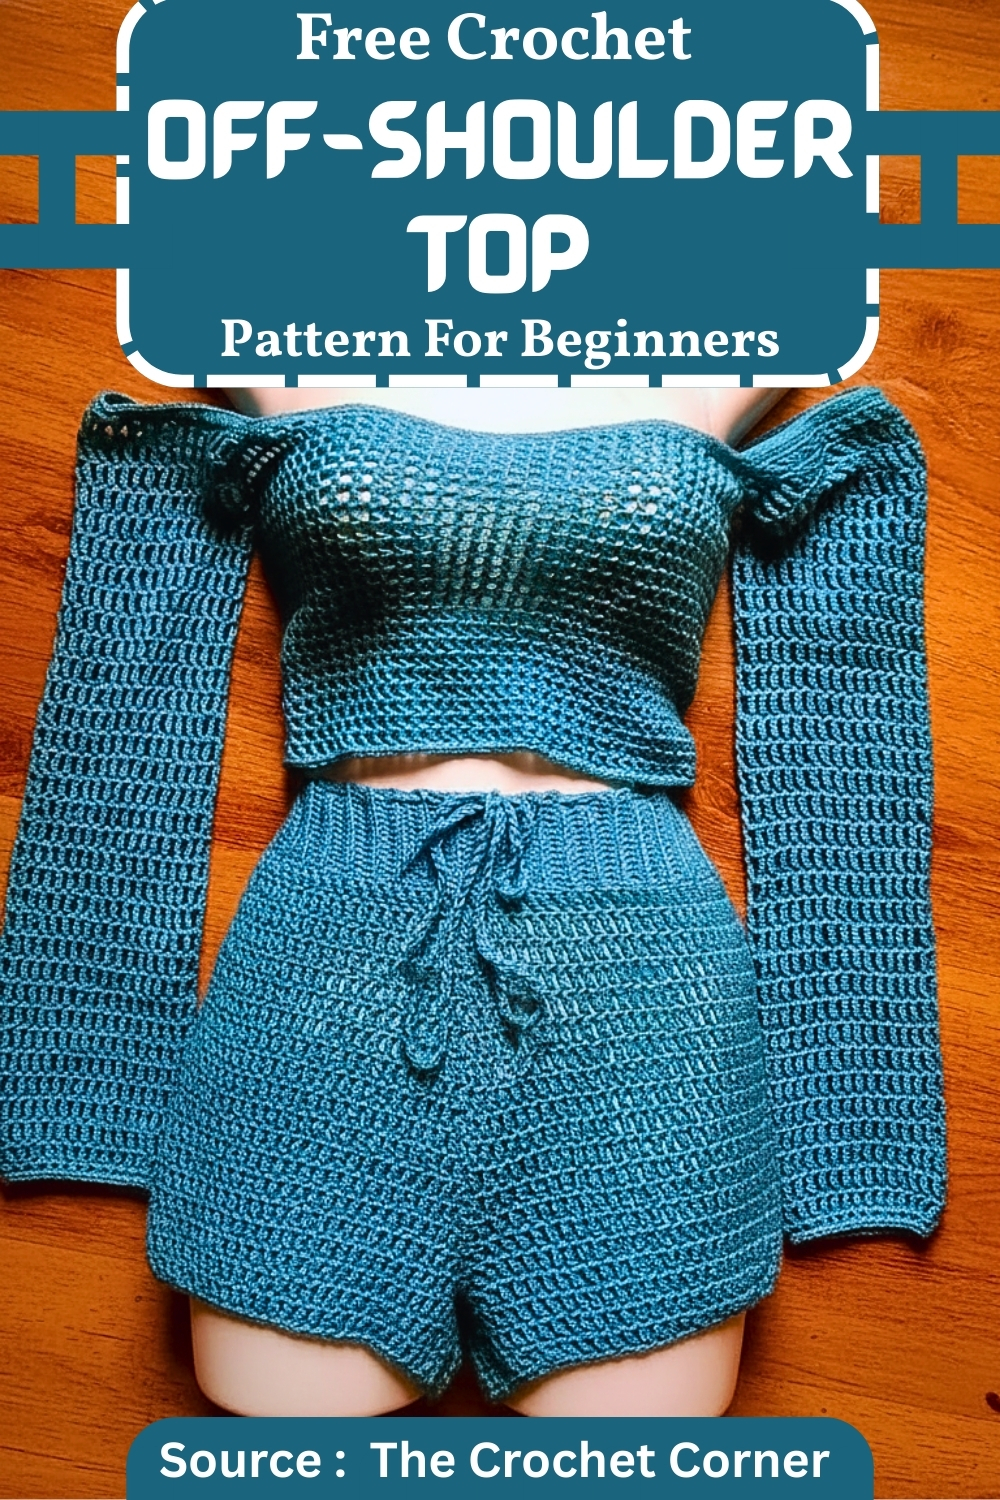
Teal reads particularly well in this style the color shows the stitch definition clearly, which matters when hdc rows are doing all the visual work. DK or sport weight cotton is the practical yarn choice here, keeping the finished top breathable and easy to wash. The oversized off-shoulder top is worth bookmarking if you prefer a more relaxed fit through the body.
Materials
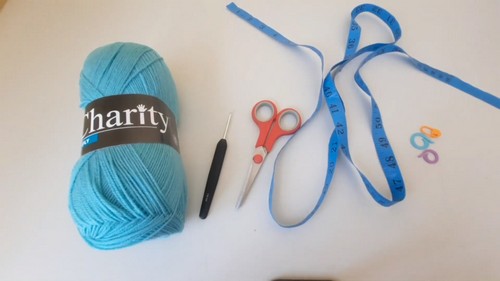
Yarn: 4-ply (Fingering weight) yarn of your choice (cotton or a cotton blend is highly recommended for summer garments).
Hook: 3.5 mm crochet hook (or size needed to obtain your preferred drape).
Notions: Scissors, measuring tape, and stitch markers.
Stitch Guide for Beginners
Sizing & Measurements
This top is designed to be size-adaptive. You will need to take three key measurements before you begin:
Bust: Measure around the fullest part of your chest.
Upper Arm: Measure the circumference of your upper arm where the sleeve will sit.
Length: Measure from just above your bust down to your desired hemline (e.g., cropped or full-length).
Pro-Tip: Choosing the Right Foundation Chain Length
For a garment like this, it is crucial that your foundation chain stretches comfortably over your body without being too loose. After making your initial chain, wrap it around your bust or arm. It should meet end-to-end smoothly without pulling tightly.
Part 1: The Main Body
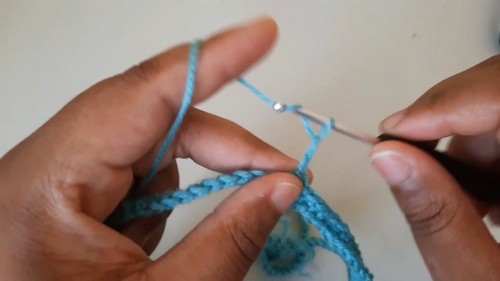
The main body is worked in the round from the bottom up, establishing a beautiful mesh grid pattern.
Foundation Row: Create a slip knot and chain a length that fits comfortably around your bust measurement. Ensure your final chain count is an even number to maintain the mesh pattern.
Row 1: Chain 1. Work 1 single crochet into the second chain from your hook, and into every chain across to the end of the row.
Joining Row 1: Carefully straighten the row, ensuring it is not twisted. Join the ends together by working 1 slip stitch into the very first single crochet to form a large round.
Round 2 (Mesh Setup): Chain 3 (this counts as your first double crochet), then chain an additional 1. Skip the next stitch, and work 1 double crochet into the following stitch. Chain 1, skip 1 stitch, and work 1 double crochet into the next stitch. Repeat the instructions between the asterisks all the way around the body. To finish the round, chain 1, then work a slip stitch into the third chain of your initial starting chain to close the loop.
Rounds 3+: Repeat the Mesh Setup round (Round 2) until the body of your top reaches your desired length from the hem to the upper bust.
Final Body Round: Chain 1. Work 1 single crochet into every chain-space and 1 single crochet into the top of every double crochet stitch from the previous round.
Finish: Fasten off and cut your yarn, leaving a short tail to weave in later.
- New to crochet and not sure how to read a pattern yet? The video tutorial below will guide you through it step by step, you’ve got this!
Part 2: Sleeves (Make Two)
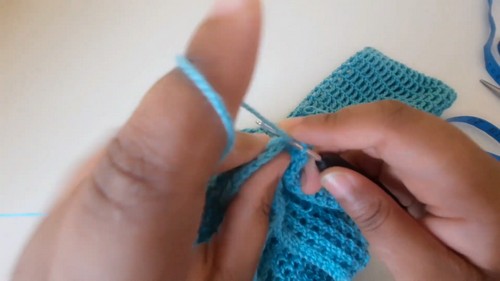
The sleeves match the mesh aesthetic of the body but use taller stitches for a slightly more open, dramatic drape.
Foundation Row: Chain a length that fits comfortably around your upper arm. Ensure your final chain count is an even number.
Row 1: Work 1 single crochet into each chain across the entire length.
Joining Row 1: Straighten the row carefully, ensuring it is not twisted, and join with a slip stitch to the first single crochet to form a round.
Round 2 (Sleeve Mesh Setup): Chain 3 and chain an additional 1. Skip the next stitch, and work 1 treble crochet into the following stitch. Chain 1, skip 1 stitch, and work 1 treble crochet into the next stitch. Repeat the instructions between the asterisks all the way around. Join with a slip stitch to the top of the third chain.
Rounds 3+: Repeat the Sleeve Mesh Setup round until the sleeve reaches your desired length.
Finish: Fasten off and cut your yarn.
Technique Explainer: Perfecting the Treble Crochet (tr)
Because the sleeve uses a taller stitch, maintaining a consistent tension is key to preventing loose loops.
Yarn over your hook twice before inserting it into the designated stitch.
Yarn over and pull up a loop (you will have 4 loops on your hook).
Yarn over and pull through the first 2 loops (3 loops remaining).
Yarn over and pull through the next 2 loops (2 loops remaining).
Yarn over and pull through the final 2 loops to complete the stitch.
Assembly & Finishing
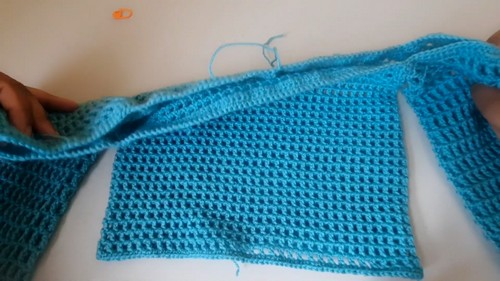
Step 1: Underarm Alignment
Lay the completed body panel completely flat. Use your stitch markers to mark out your underarm placement on both the left and right sides. Next, align each sleeve with the body at these marked points.
Step 2: Joining the Pieces
Attach your yarn at the underarm. Join the sleeve to the body by working slip stitches across approximately 6 mesh stitches total, securing the underarm firmly. Repeat this process for the second sleeve.
Step 3: Top Border & Decreasing
Now, we will pull the top together to create that secure, off-the-shoulder look.
Round 1: Attach your yarn at the center back neckline. Chain 1, then work single crochets evenly around the entire top edge of the garment, traveling across the body and over both sleeves.
Round 2 (Decreasing): Work single crochets around the edge. When you reach the outer shoulder area of the first sleeve, work 3 single crochet two together (sc2tog) decreases sequentially to help shape the shoulder. Continue working single crochets across, and repeat the 3 sc2tog decreases over the outer shoulder area of the second sleeve. Complete the round with single crochets.
Round 3: Work one final round of single crochet evenly around the entire top edge to clean up the neckline.
Finishing: Join the round with a slip stitch to the first stitch. Fasten off your yarn, weave in all loose ends using a tapestry needle, and enjoy your brand-new off-shoulder top!
Technique Explainer: Single Crochet Two Together (sc2tog)
Decreasing can sometimes leave gaps, but following this smooth method will keep your neckline looking seamless:
Insert your hook into the first designated stitch, yarn over, and pull up a loop (2 loops on hook).
Insert your hook directly into the next stitch, yarn over, and pull up a loop (3 loops on hook).
Yarn over and draw through all 3 loops on your hook. You have successfully turned two stitches into one!


